
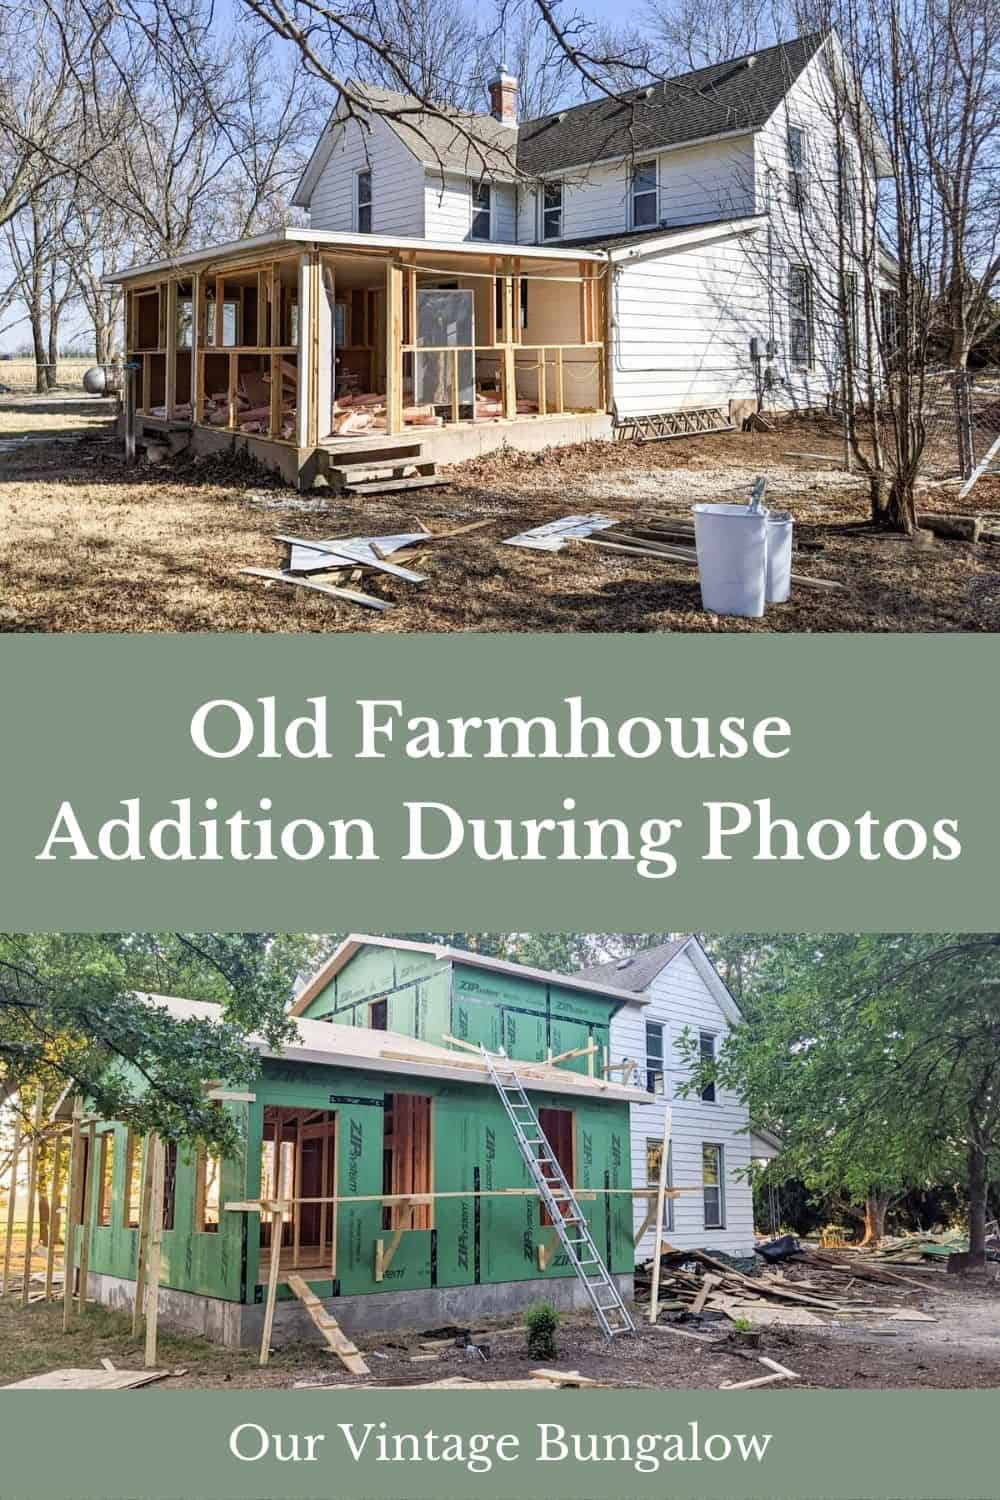
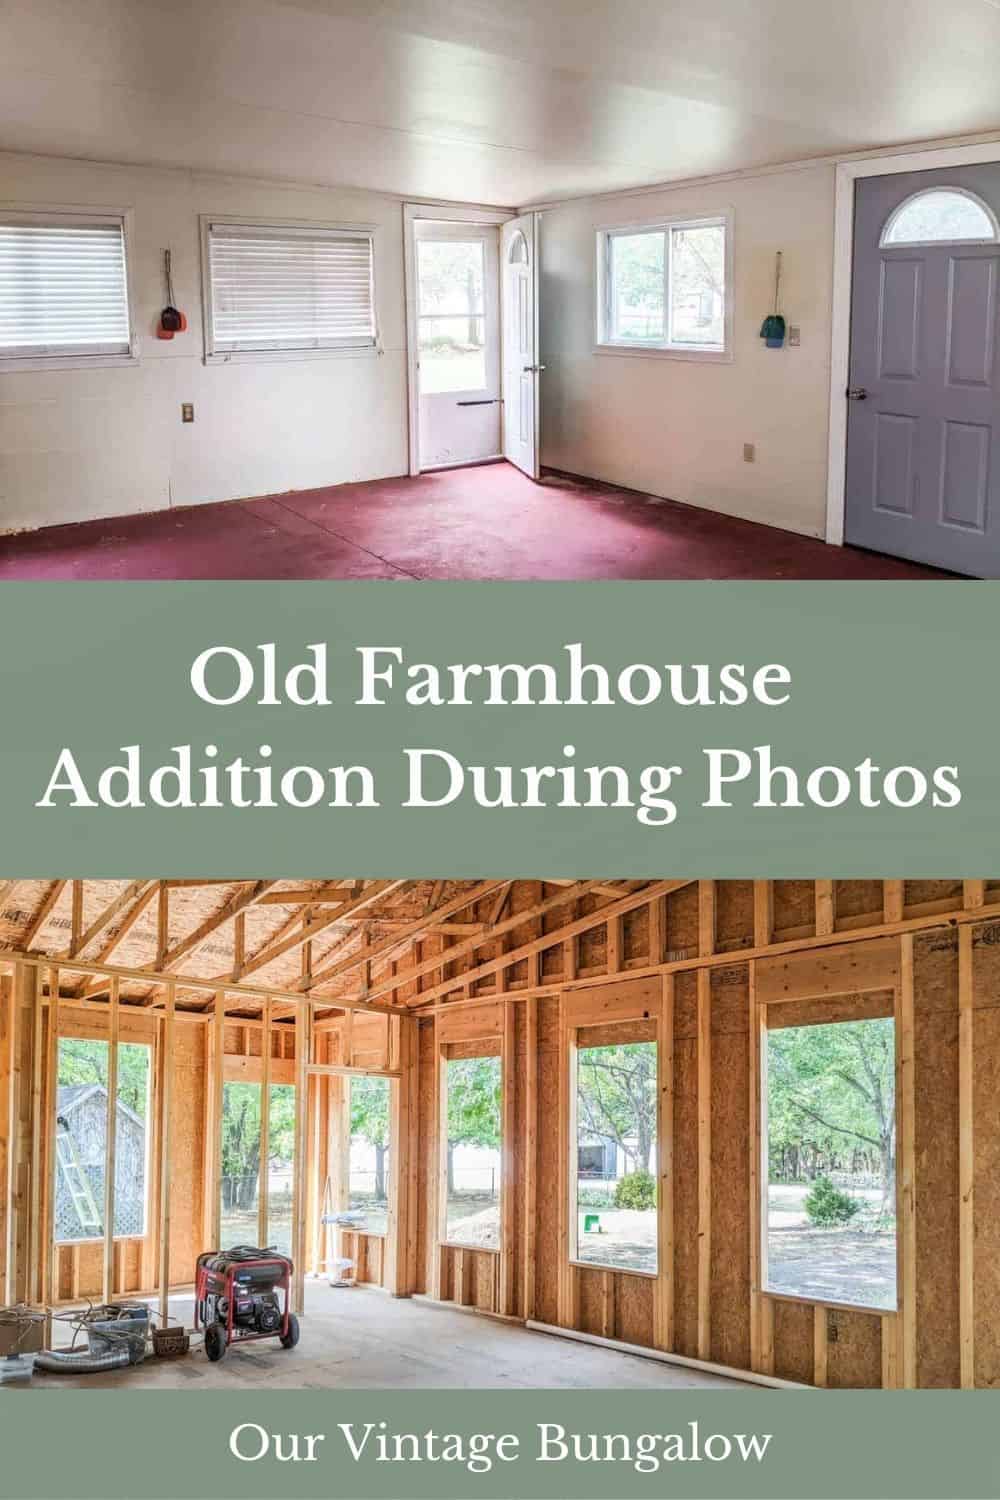
We bought a farmhouse built in 1900 and have been slowly doing a DIY renovation on the entire house. After much thought, consideration and planning, we decided to tear off the old kitchen and back room addition and add a better structured space. Here are our old farmhouse addition during photos!
We found and purchased our dream property at the height of the housing boom. It was a miracle that we found the “perfect place” and that our offer was accepted out of several others. If you would like to read more on that story, you can visit my post Farmhouse Remodel Before Photos and Farmhouse Renovation During Pictures.
During our journey of the farmhouse remodel and caring for the property, my goal is to be respectful of those who have loved this place before us. Although the house needs (in our opinion) lots of work, I don’t dismiss all the work that has been put into this historic home up to this point. Though I may not appreciate design decisions made in the past, the previous caretakers did their best and loved the place as much as we will.
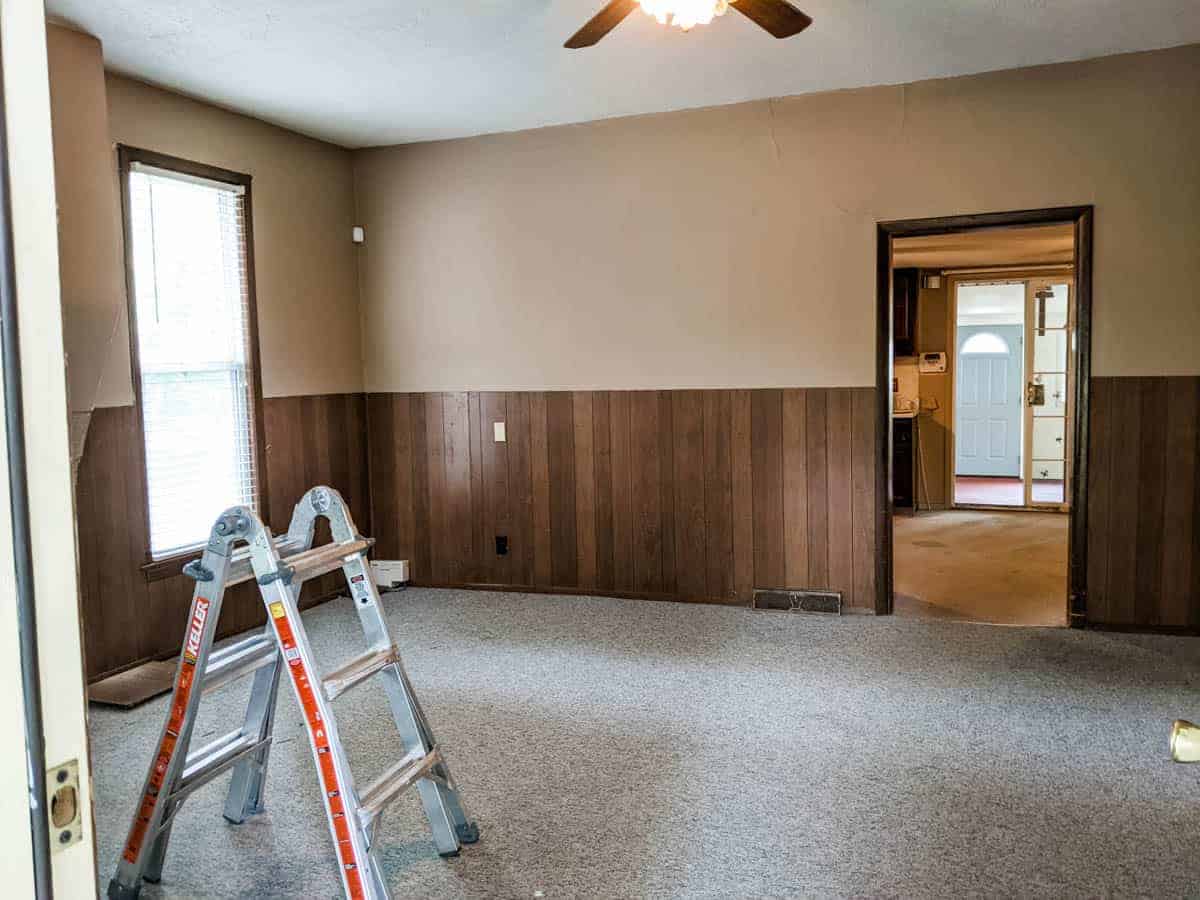
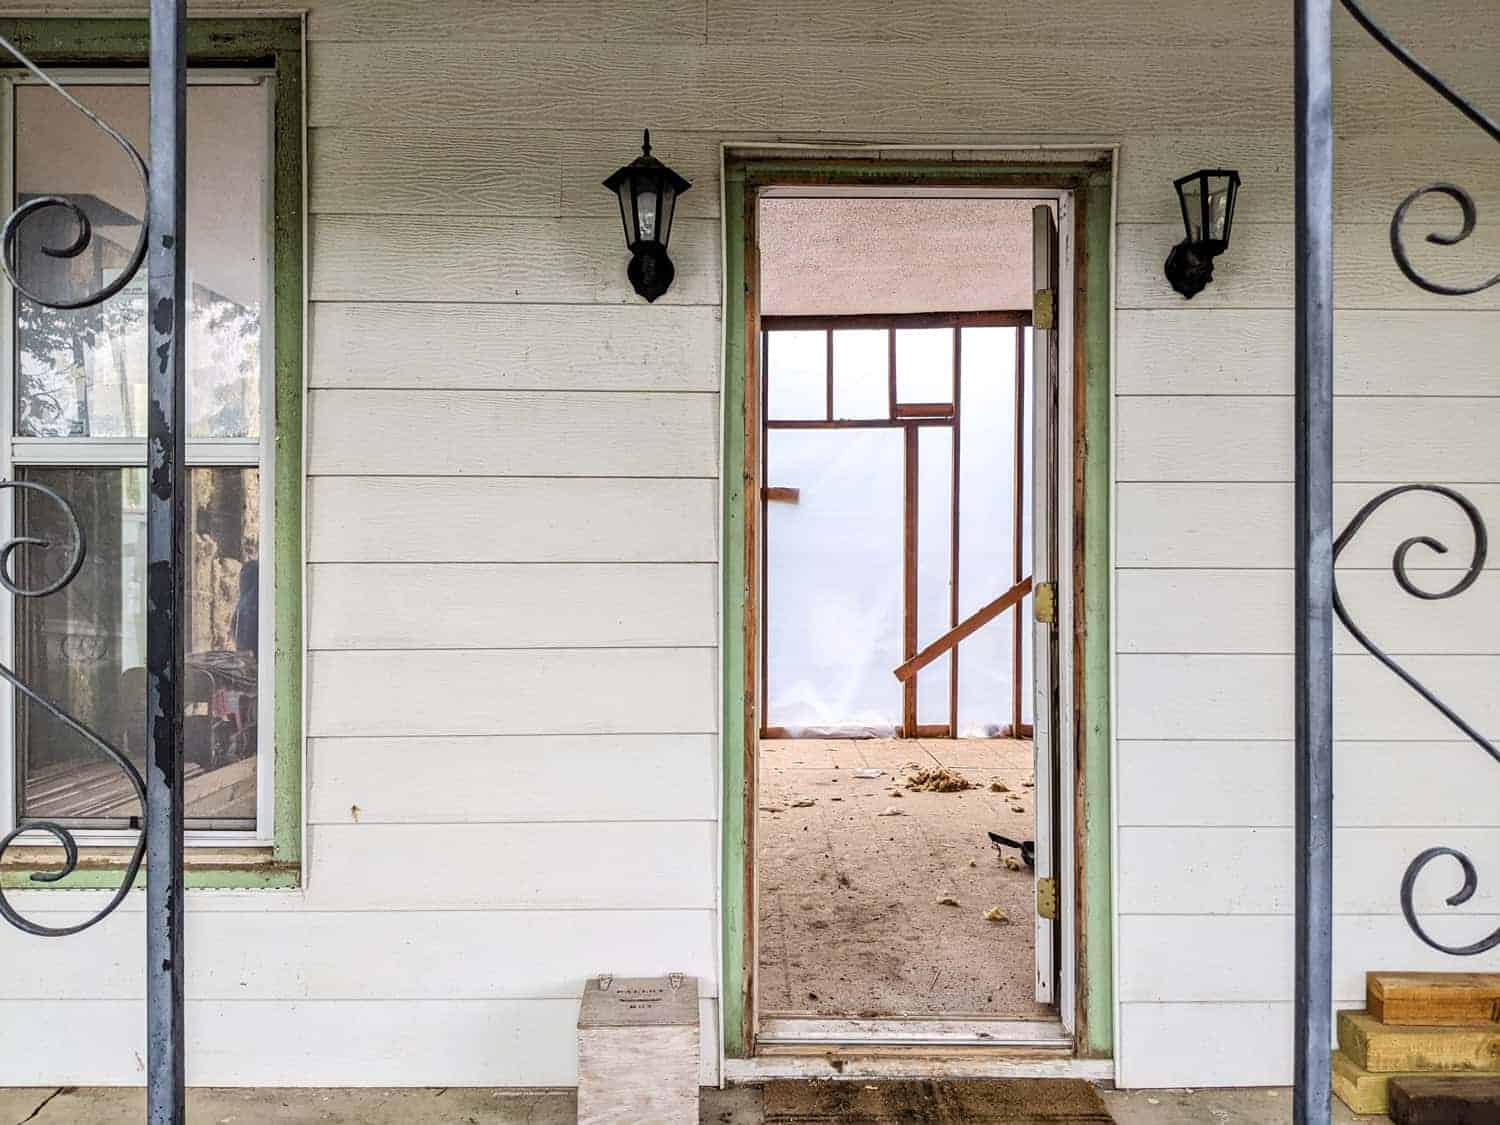
What the View from the Front Door Looked Like Before and After
When you walked in the front door, you entered the living room. To the right were the stairs leading up, and straight ahead was a wall with a typical doorway into the kitchen. While I am not an all-out open concept kind of girl, especially in an old farmhouse, the rooms did feel small and chopped up.
What Our Initial Kitchen and Addition Renovation Plan Looked Like
We had planned on keeping the original structure of the kitchen and back addition and simply renovating them to suit our needs. We tore out the drop ceiling and were going to go with the original angled ceiling. I was going to embrace the coziness of the space with tongue and groove wood ceiling and warm cabinet paint.
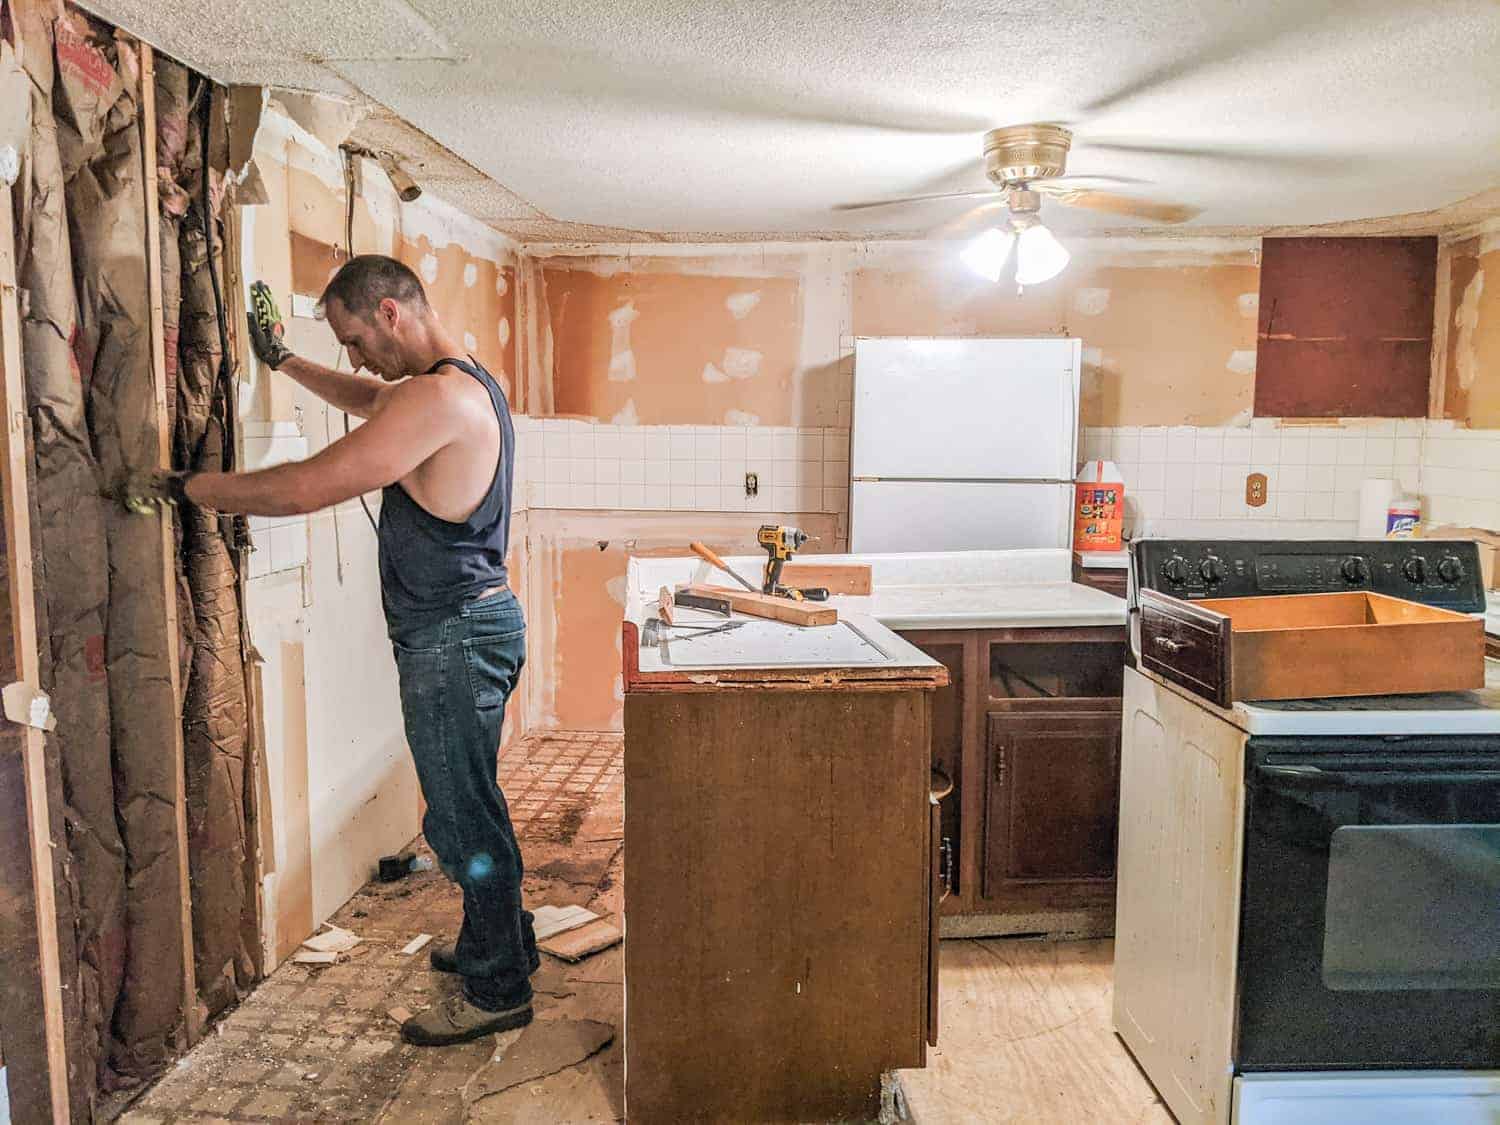
During the first summer of work, we got so far as reinforcing the termite damaged walls, re-wiring the electrical, re-plumbing and putting in new insulation for the kitchen.
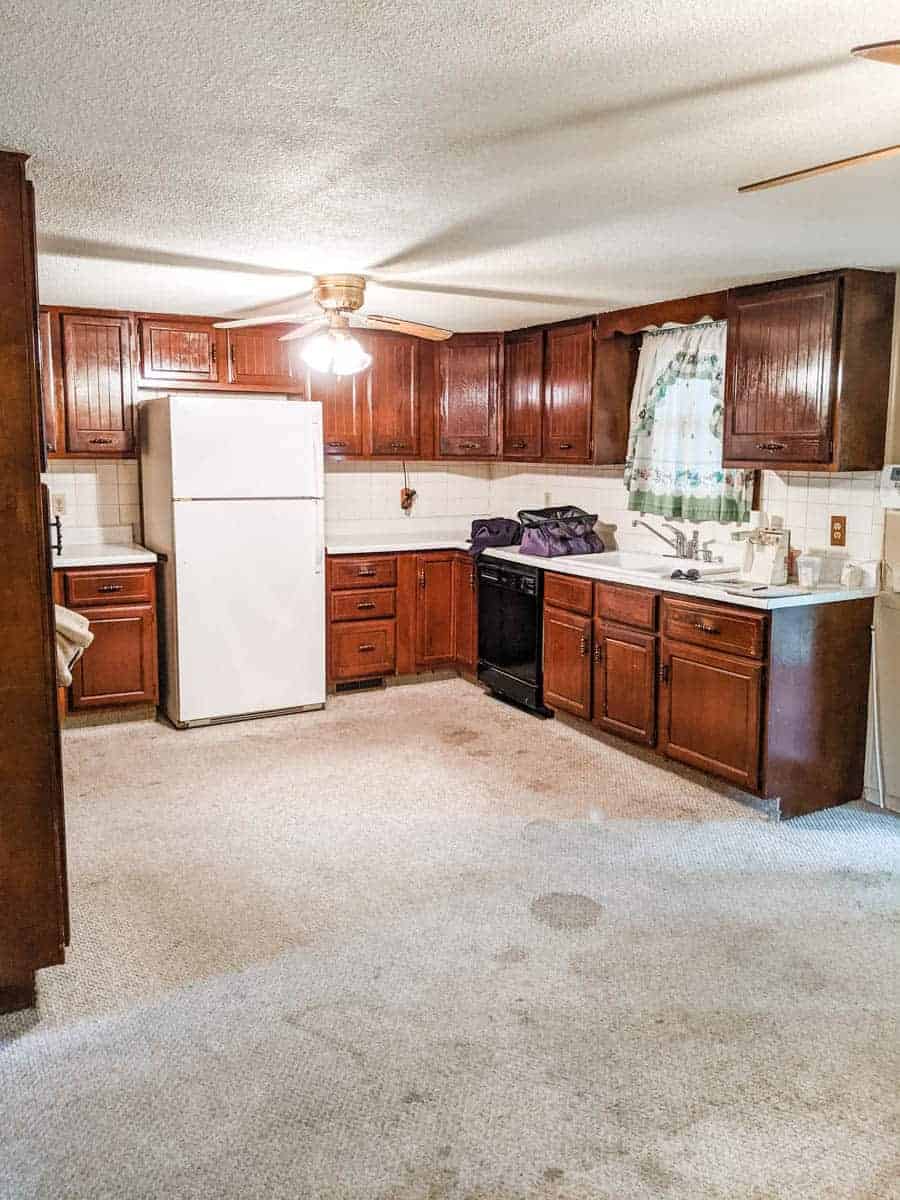
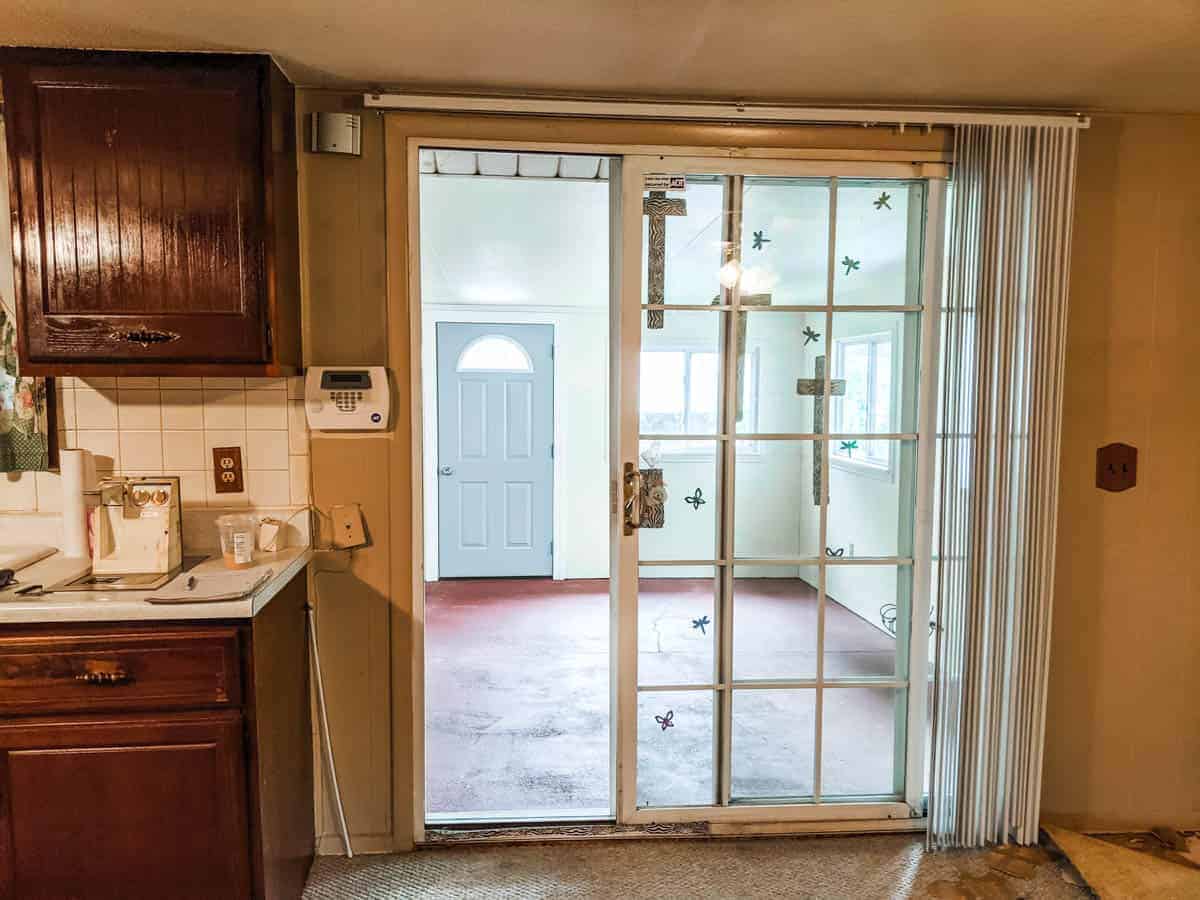
What the Kitchen Looked Like Before and After
In the original farmhouse, the kitchen was in a whole other area. But when indoor bathrooms became a thing (thank goodness I live in an era of modern amenities), they moved the kitchen and dining room to what was formerly the back porch.
So think of what the roof line of a porch is like – angled and fairly low. To make the ceiling straight across, the former owners dropped the ceiling to the lowest point of the angle. Coming from the living room with nine foot ceilings into the kitchen with a little over seven foot drop ceiling felt very claustrophobic indeed. And adding two ceiling fans made it pretty difficult for anyone close to six foot to walk in without losing their head.
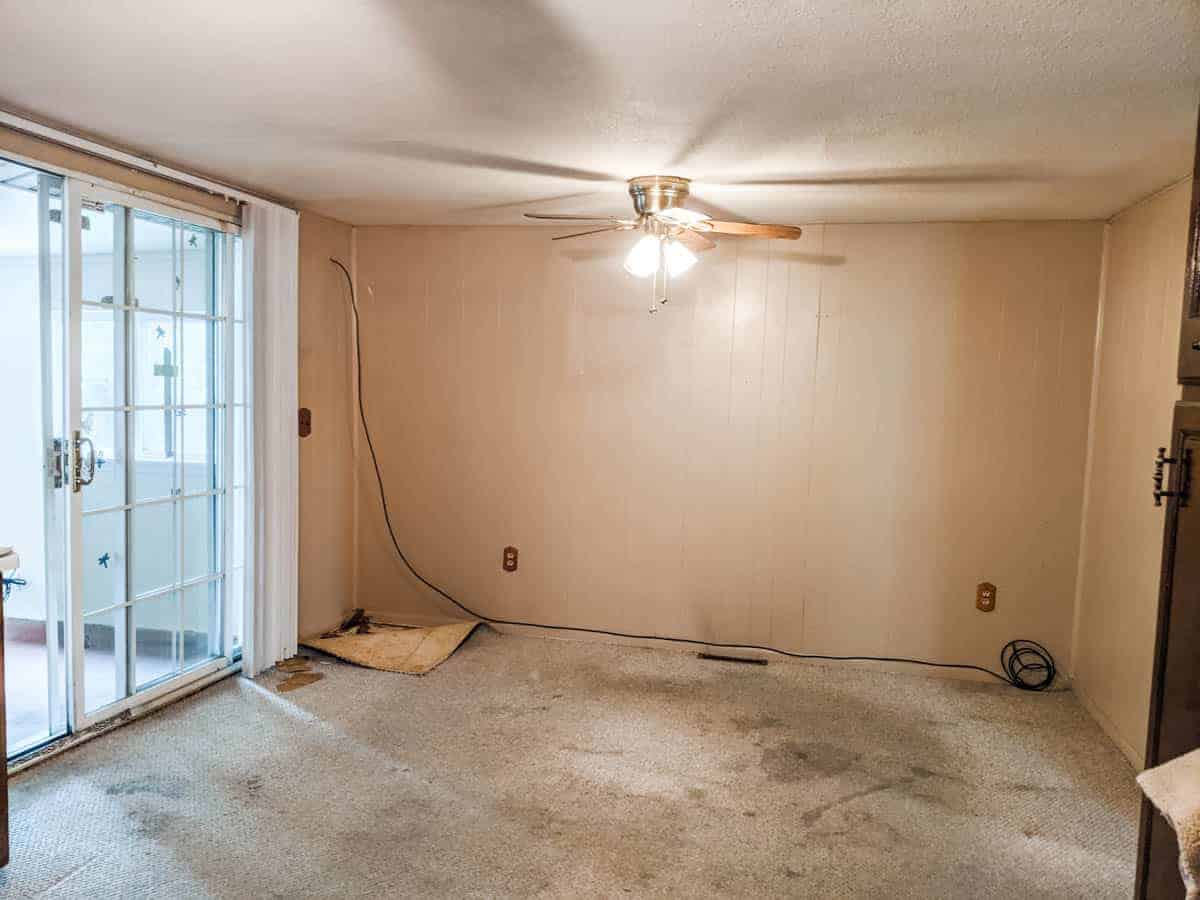
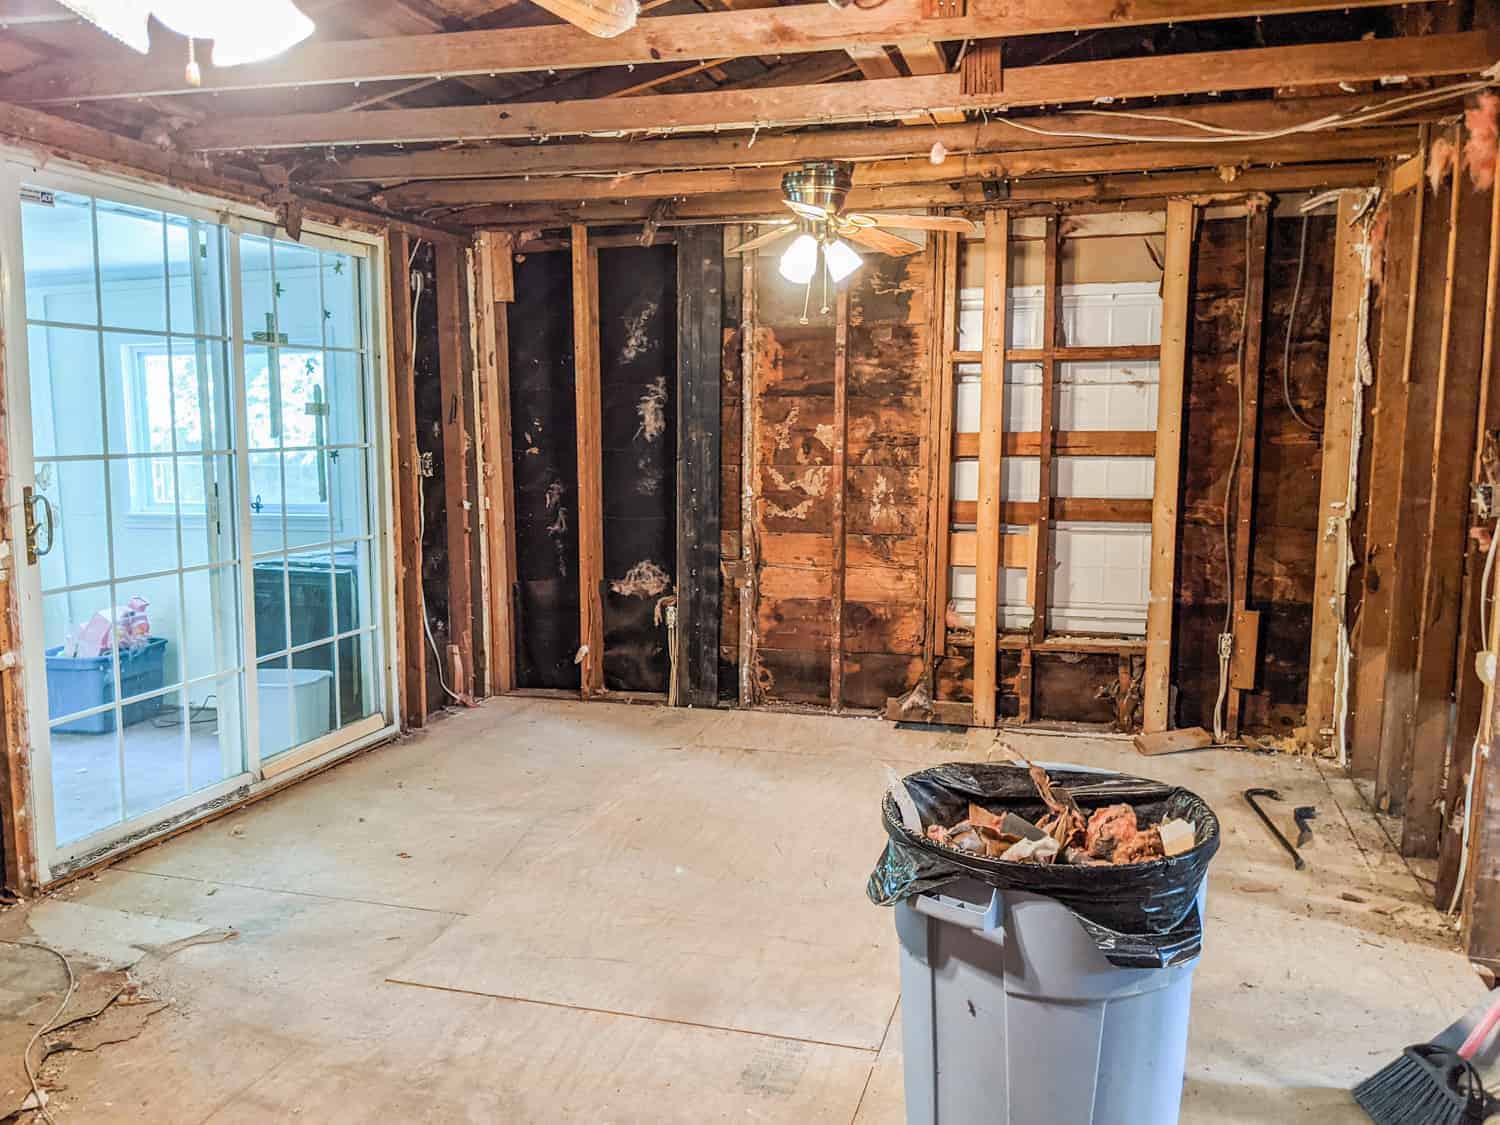
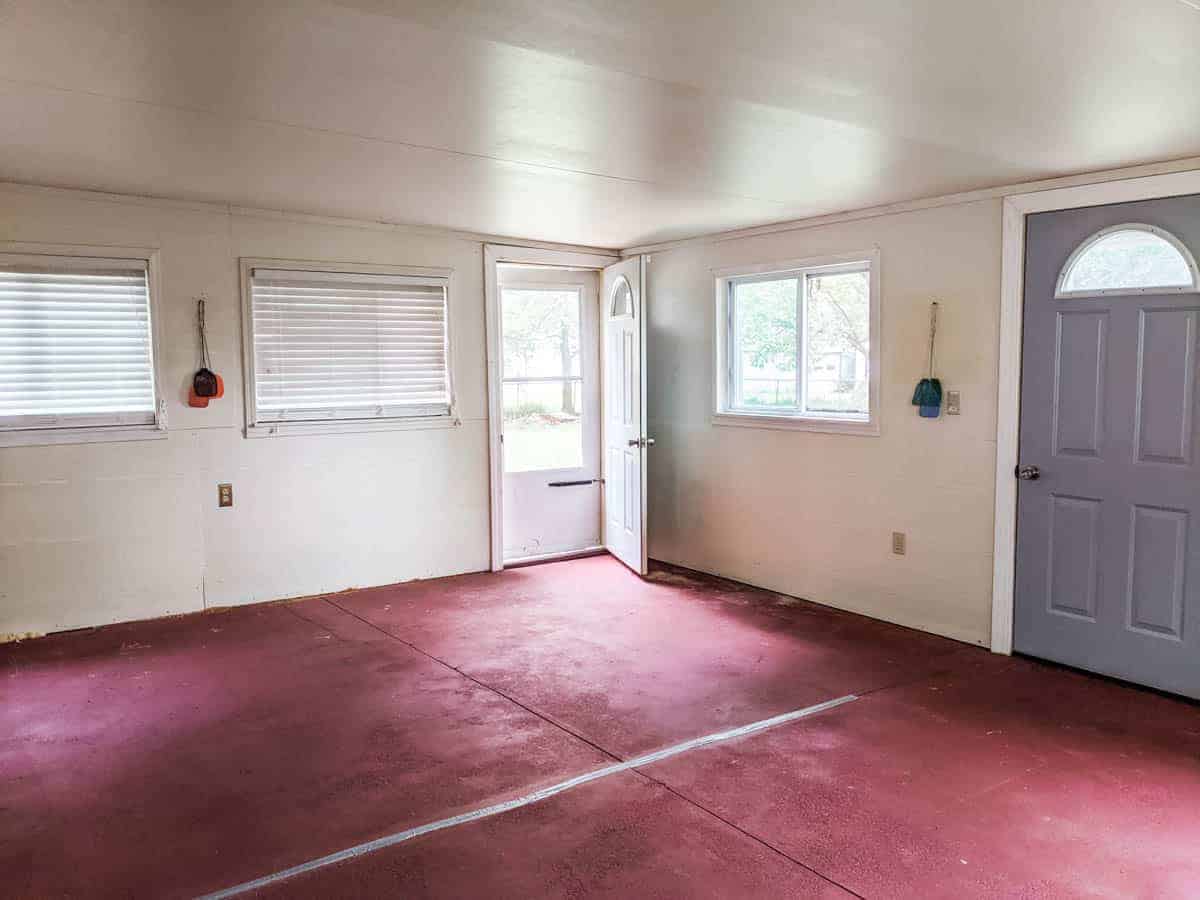
What the Back Addition Looked Like Before and After
Moving through the kitchen there was a sliding glass door and a step down. We think it had been a cement slab porch, but in the 1990’s or early 2000’s Hazel and Paul (the owners before us) enclosed it. It was a welcome space addition, but there was a low ceiling here too out of necessity to match the kitchen roof line.
The Problem with Our Original Remodel Plan
The problem with our original plan was not the downstairs but the second floor. You see, the house had only one bathroom. And growing up with one bathroom in an old farmhouse, I vowed never to do that again. It’s possible but, no, never again.
We wracked our brains trying to figure out a way to add a bathroom upstairs without giving up a bedroom. But we could not think of a single option until an interior design friend came and gave me some ideas. (Those ideas were about to cost us a small fortune but were going to be so, so worth it!)
She suggested making the smallest room a master bedroom but extending it over the kitchen roof and adding a bathroom and closet in the process. Ding!
Once we got that idea, we couldn’t go back.
But the existing kitchen was not designed to hold a second story. Thus, we were going to start from scratch.
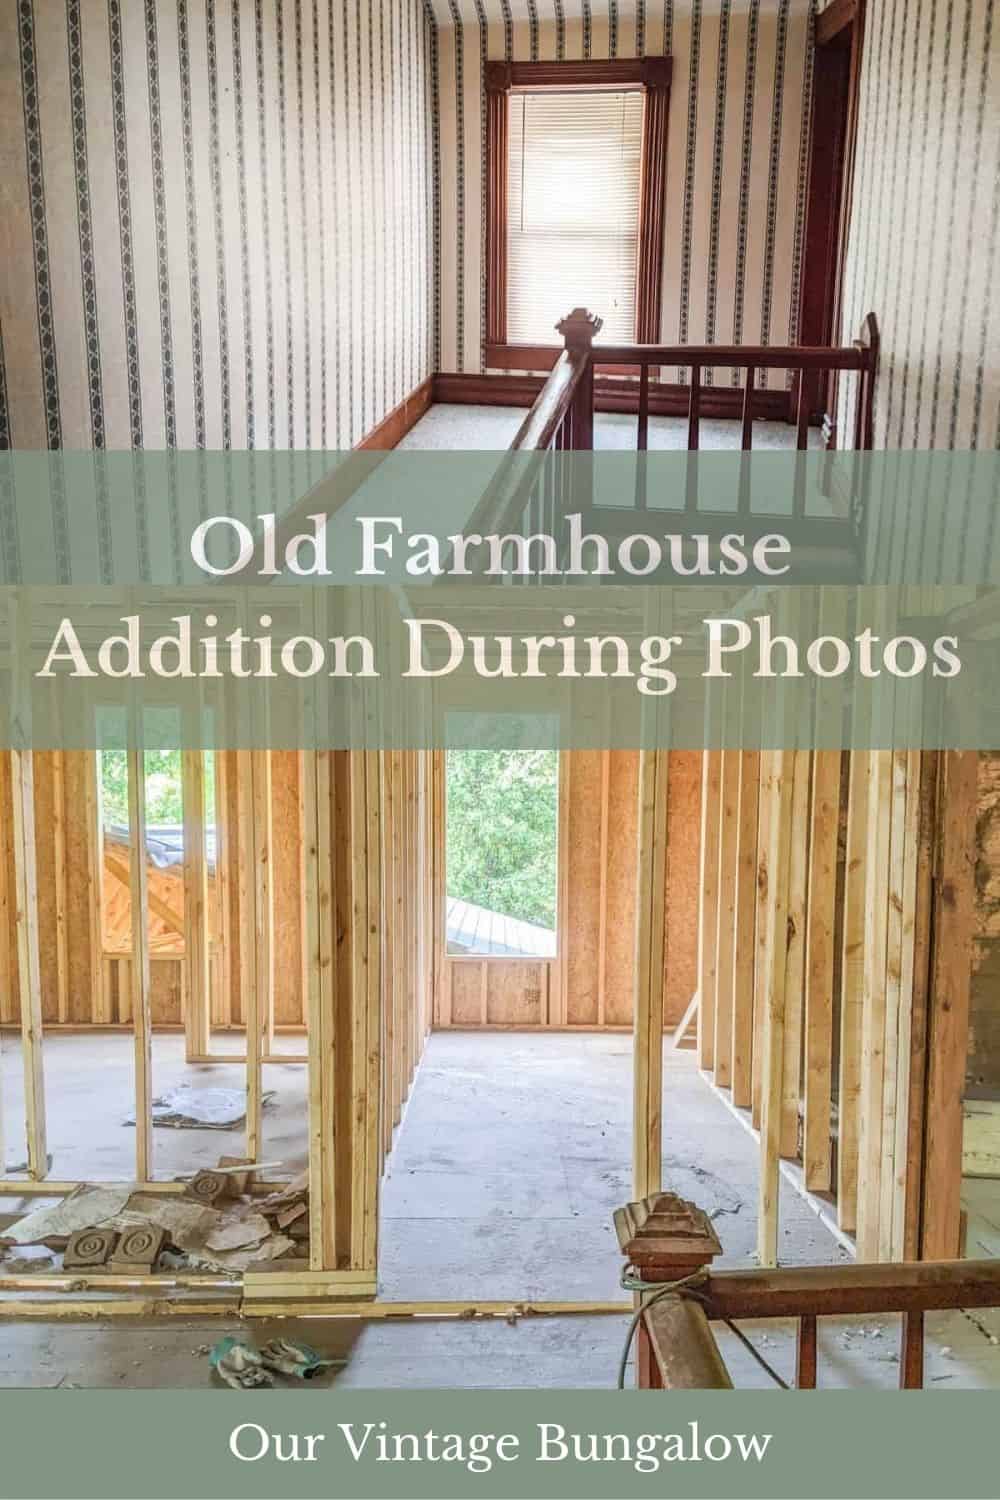
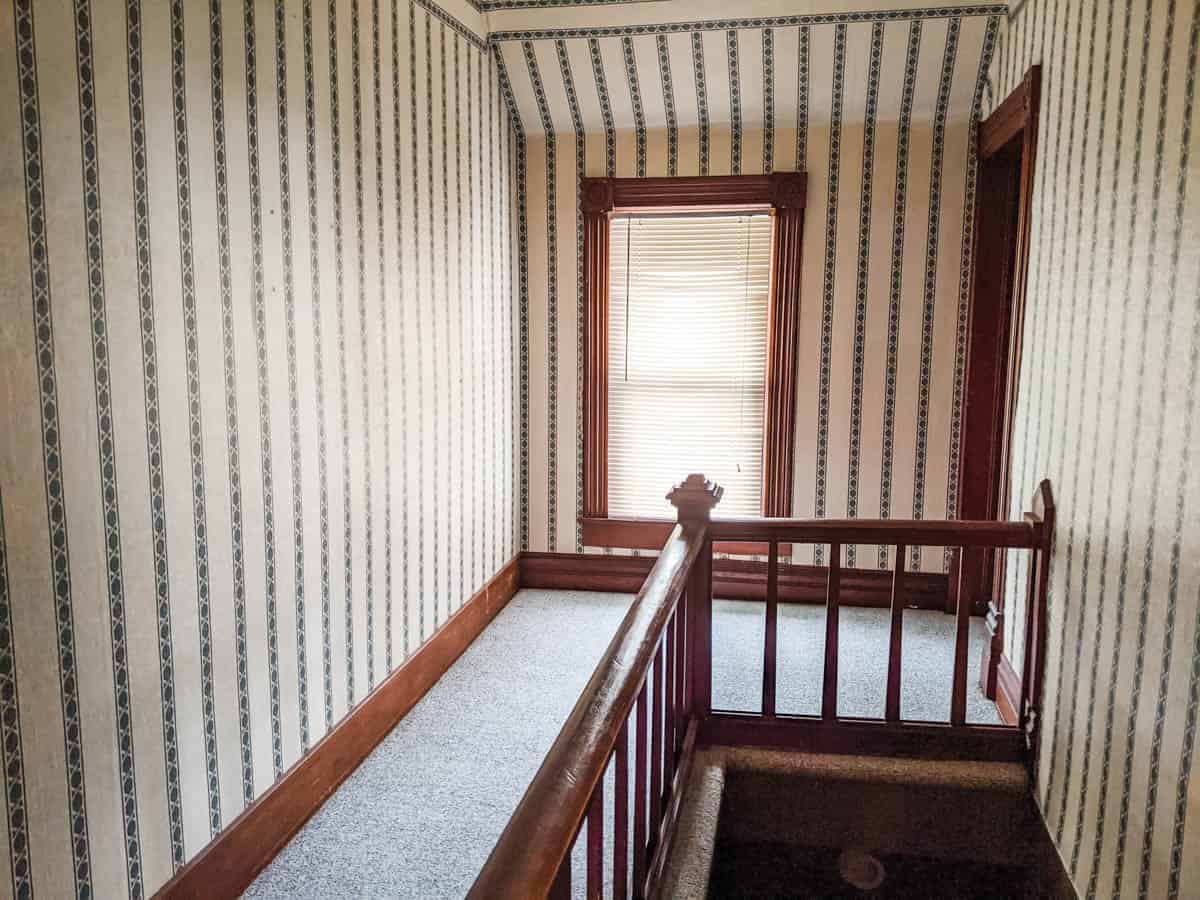
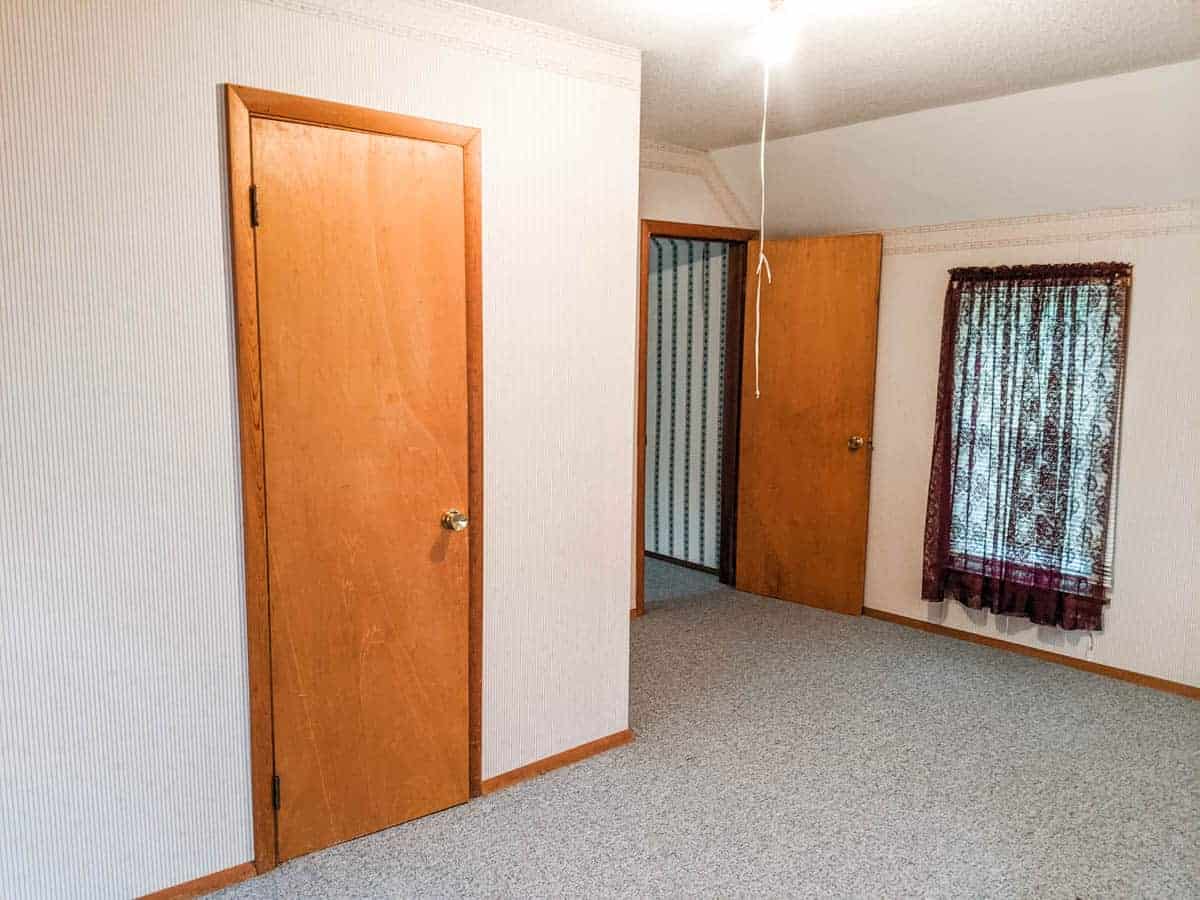
What the Upstairs Looked Like Before and After
We have three bedrooms upstairs. Initially, we were thinking of taking the two adjoining bedrooms and making them into a master suite with a bathroom and closet. But I hated the idea of giving up a bedroom.
Across the hallway was another bedroom that was the smallest (but actually had a decent closet). My initial thought was that this would become Little Lady’s room.
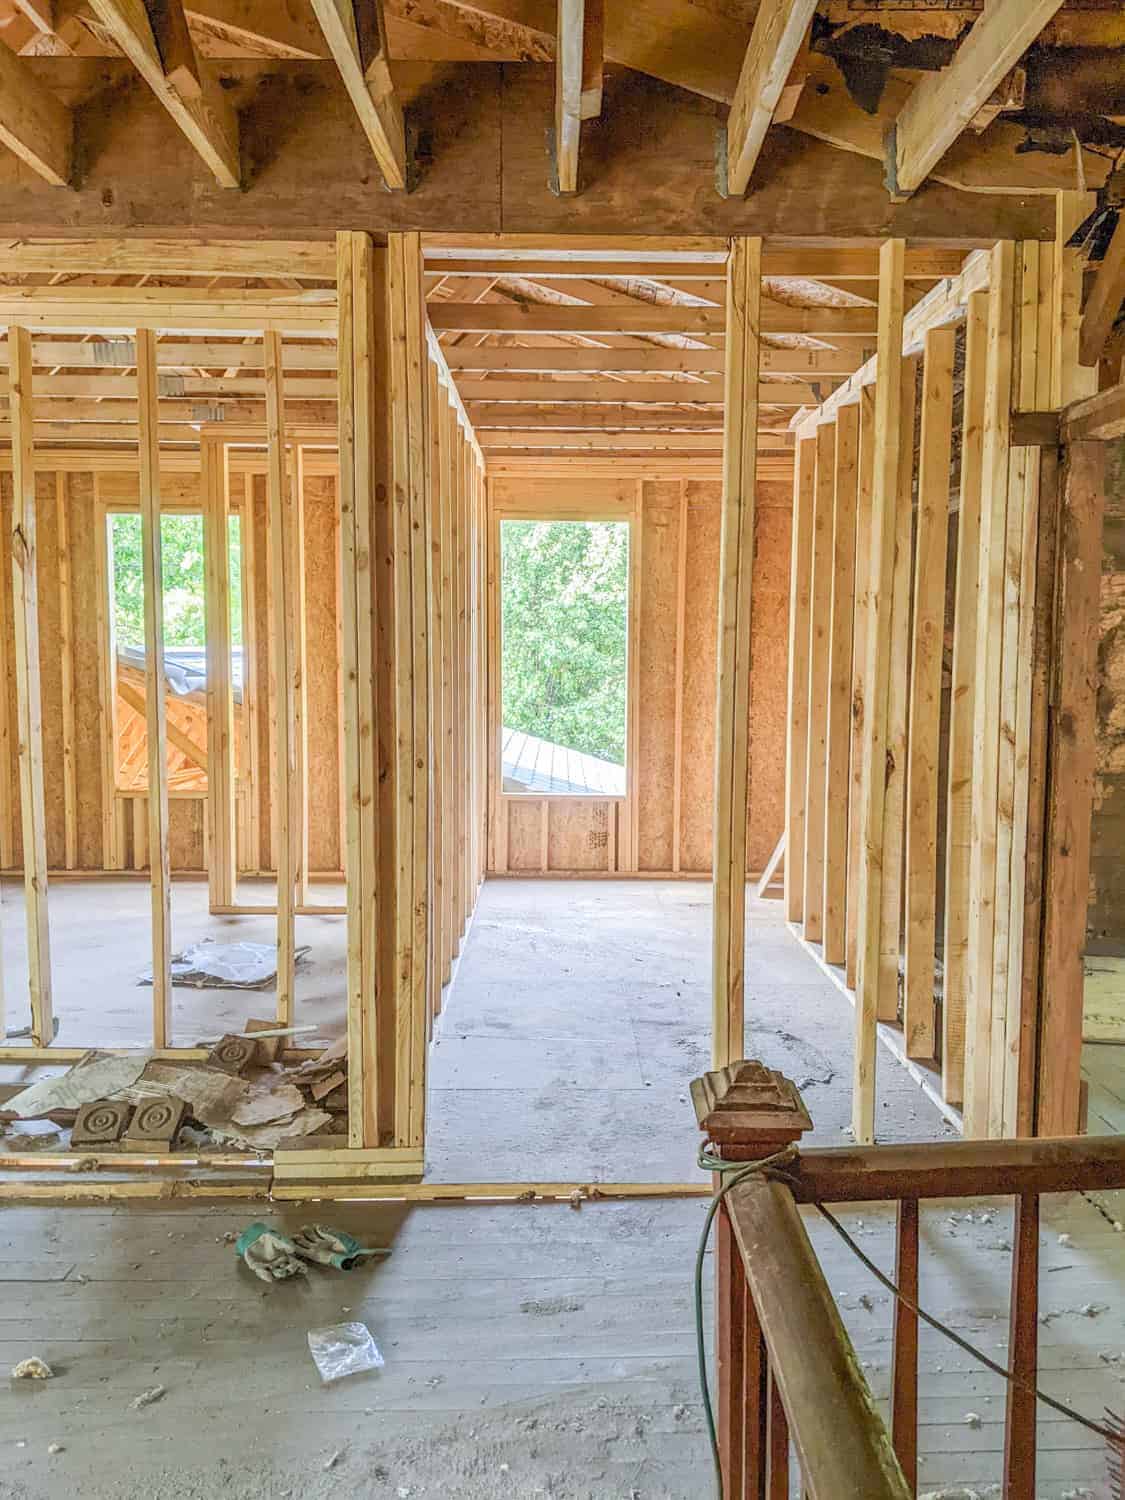
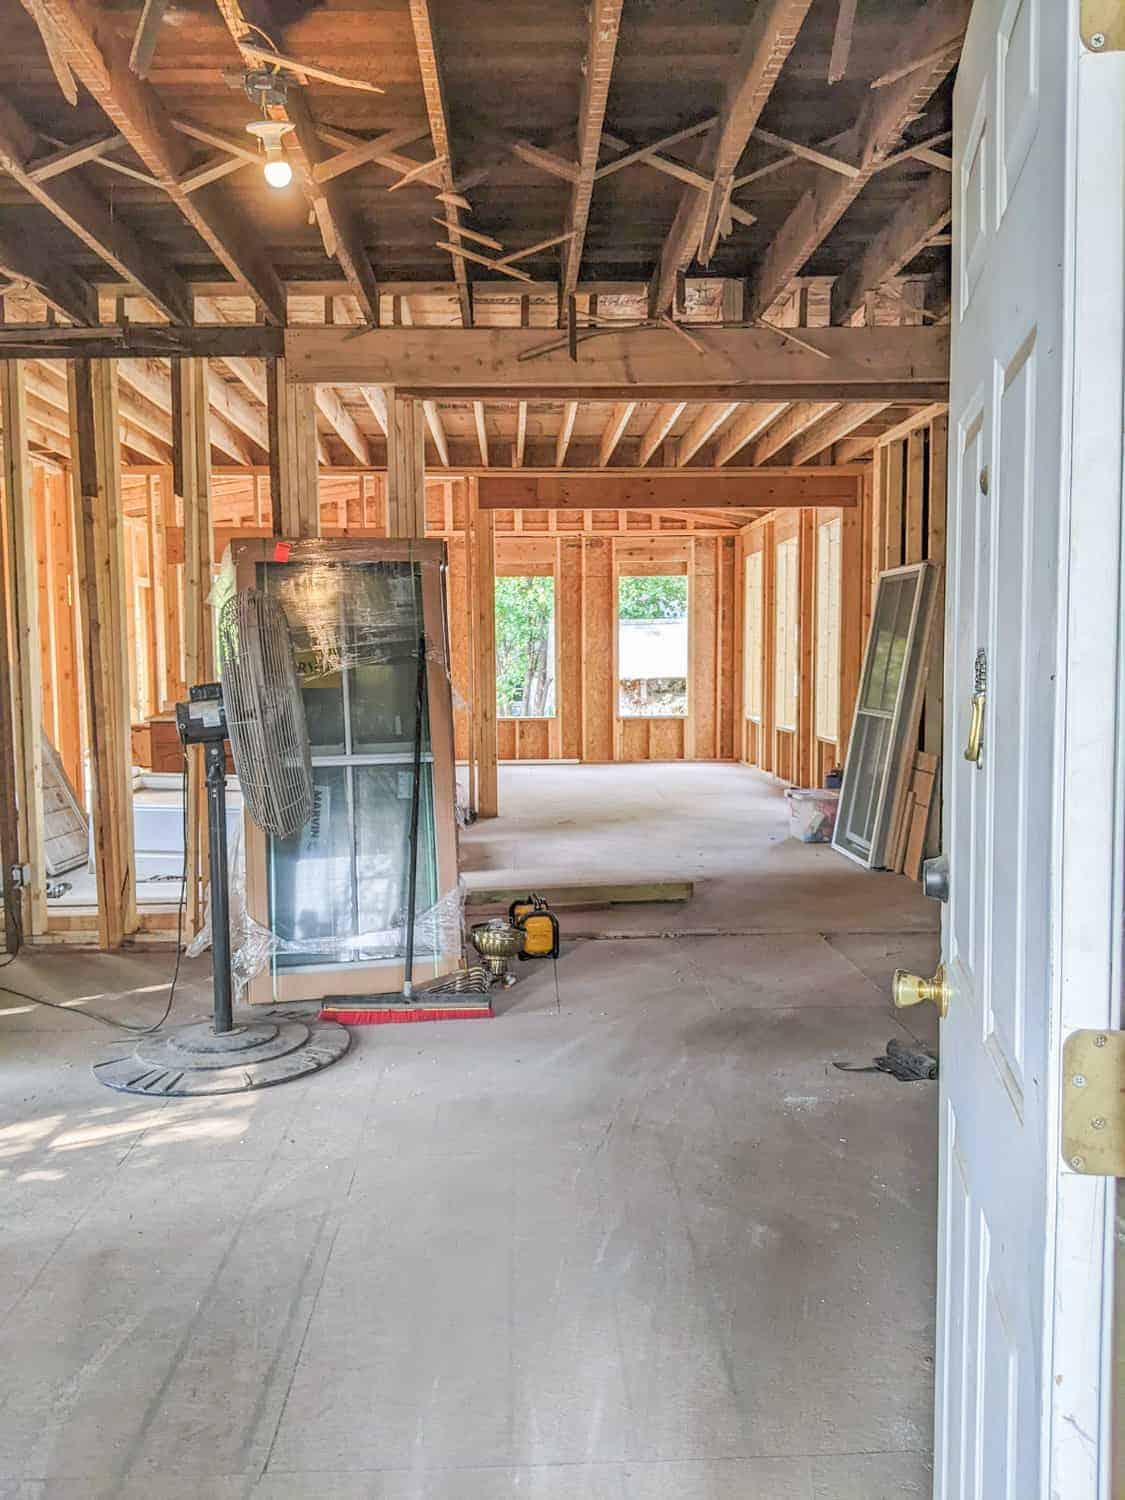
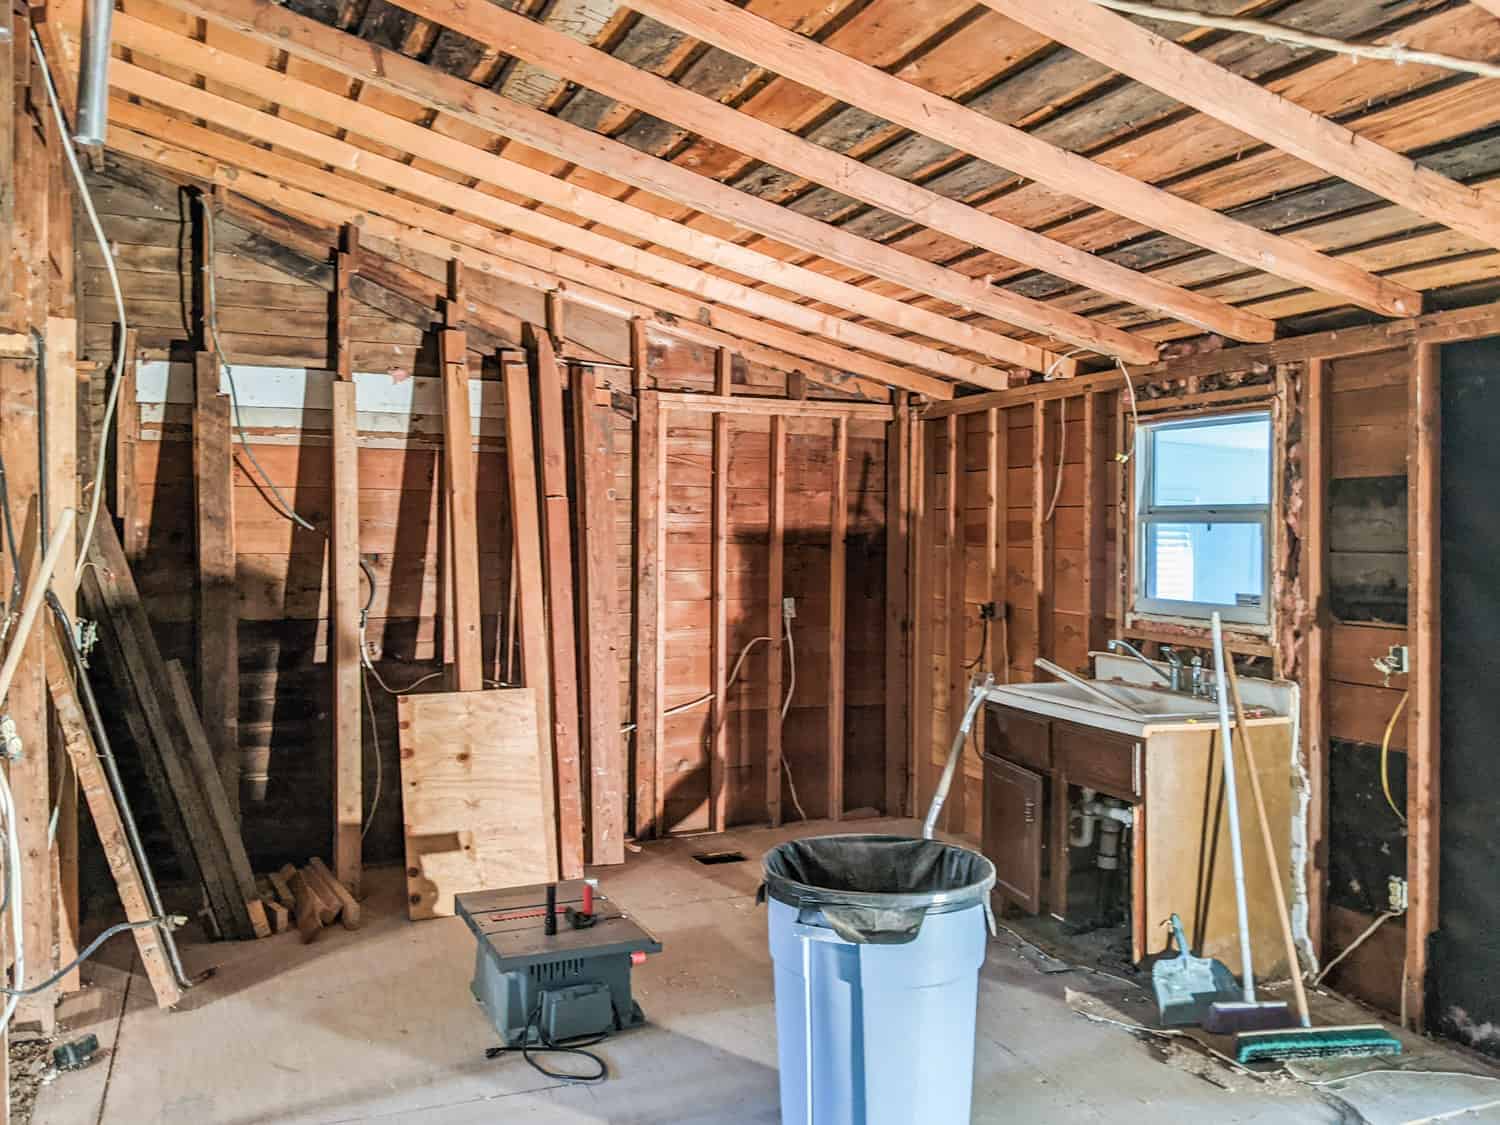
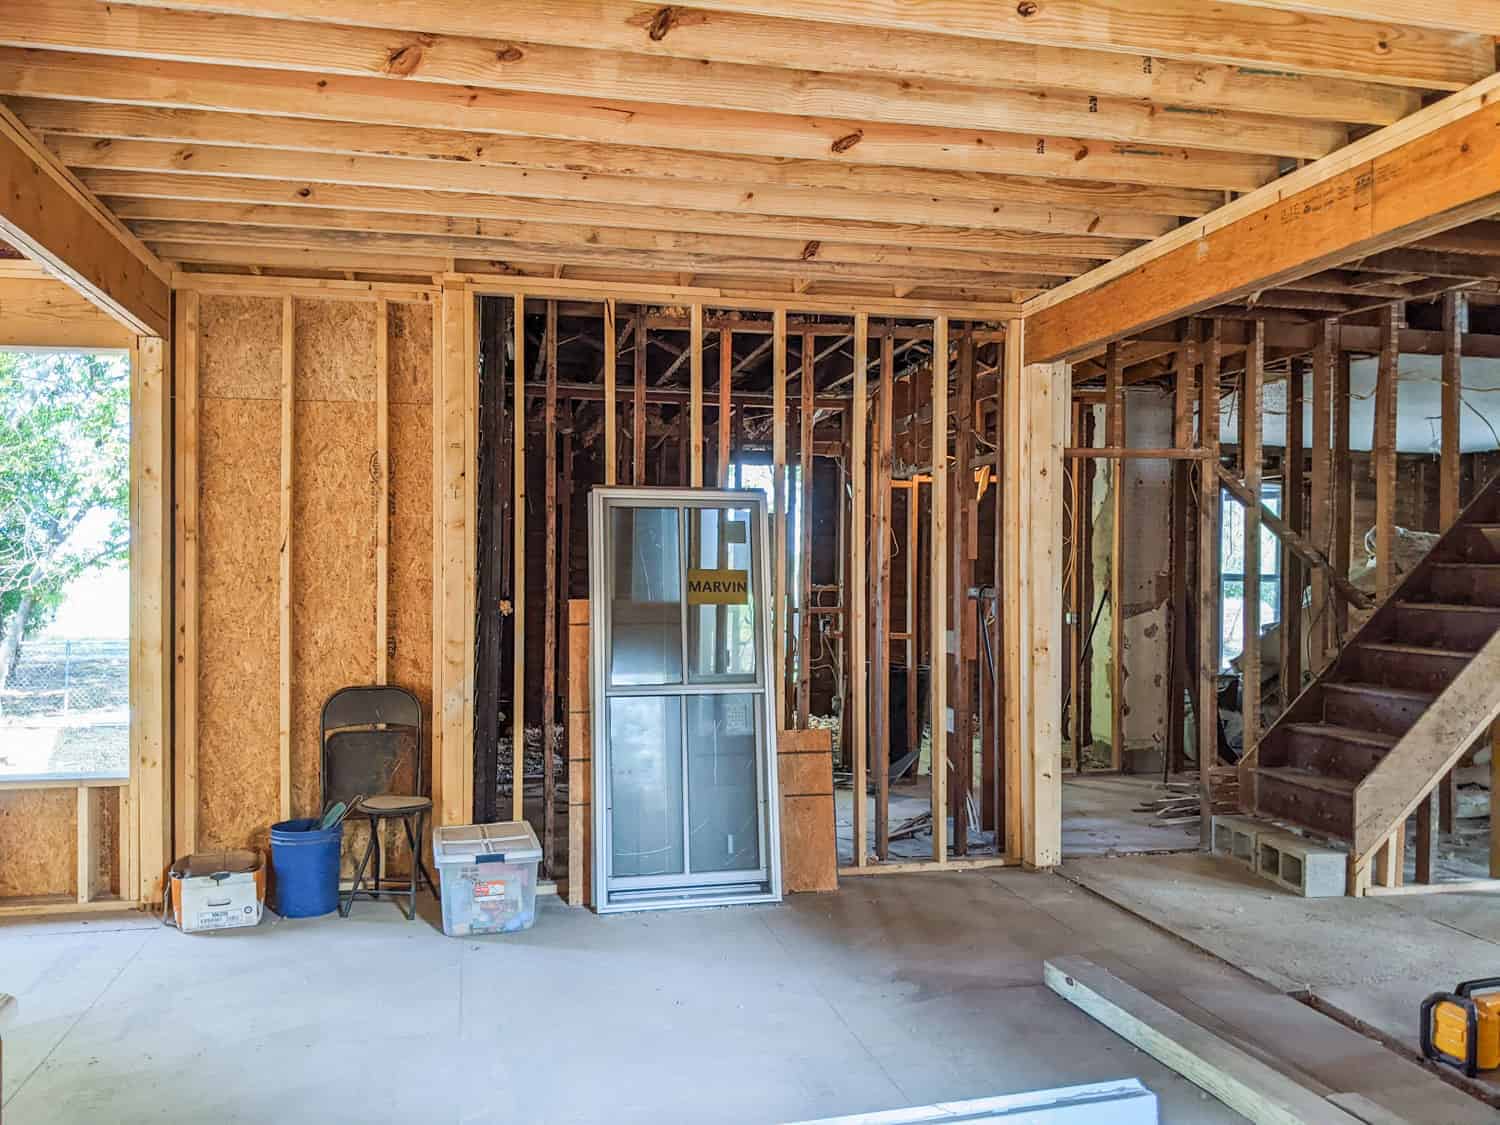
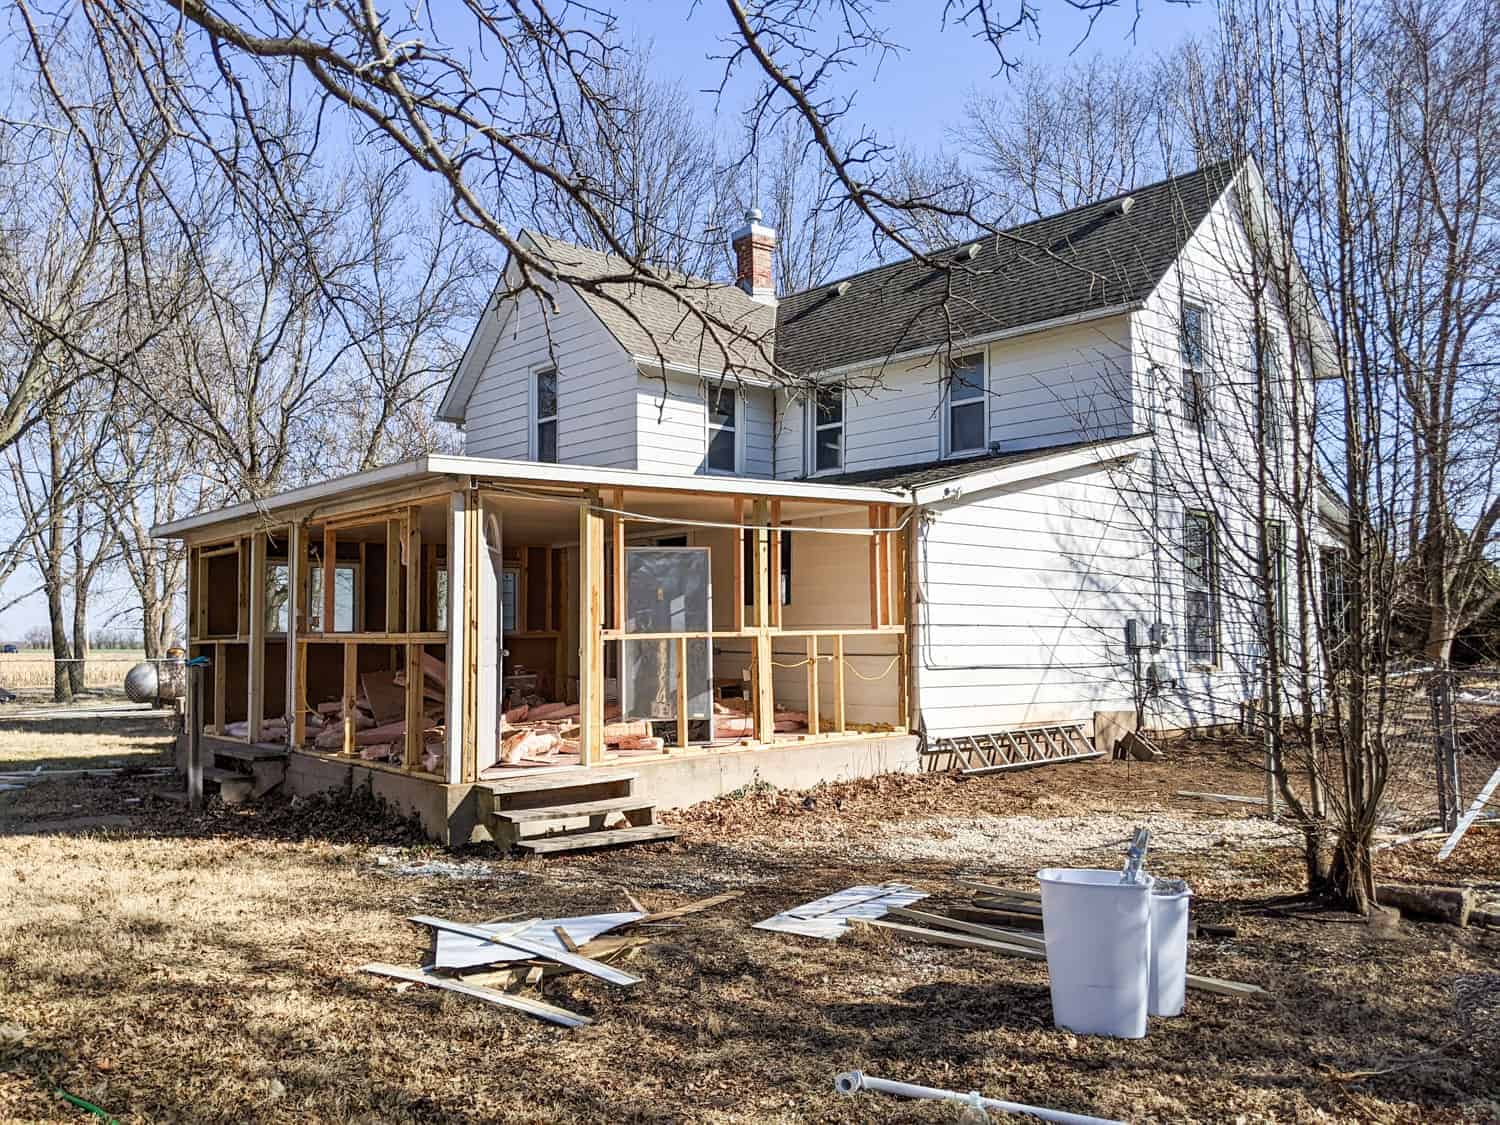
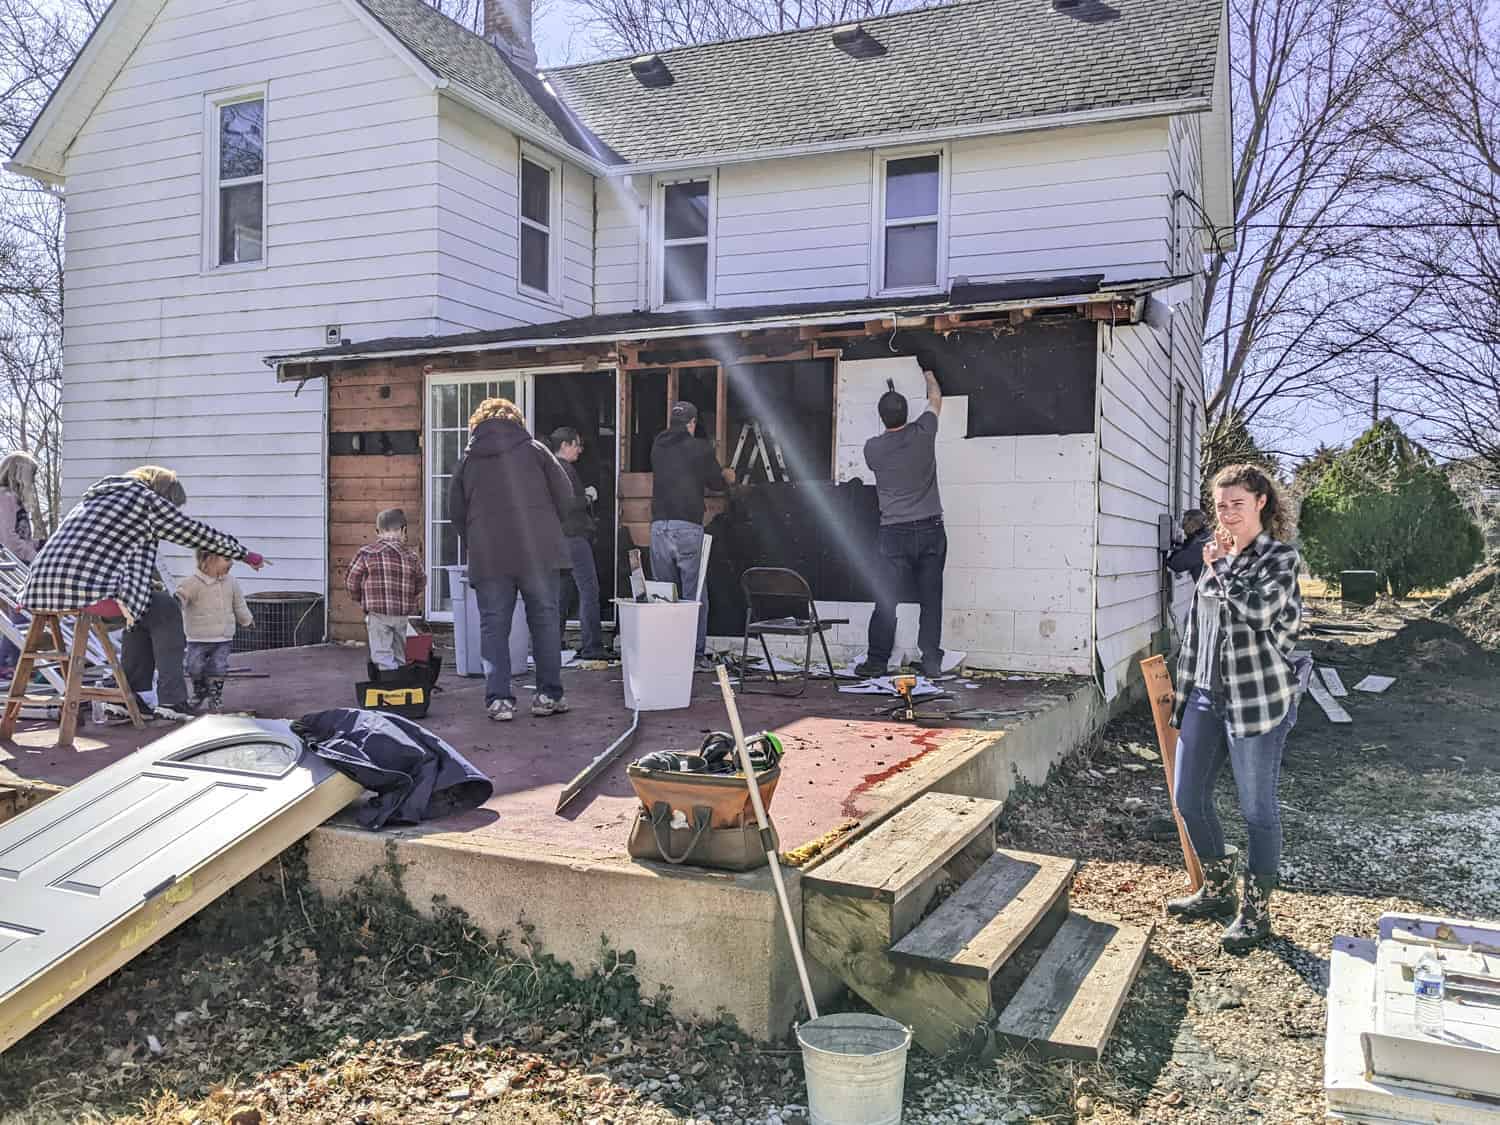
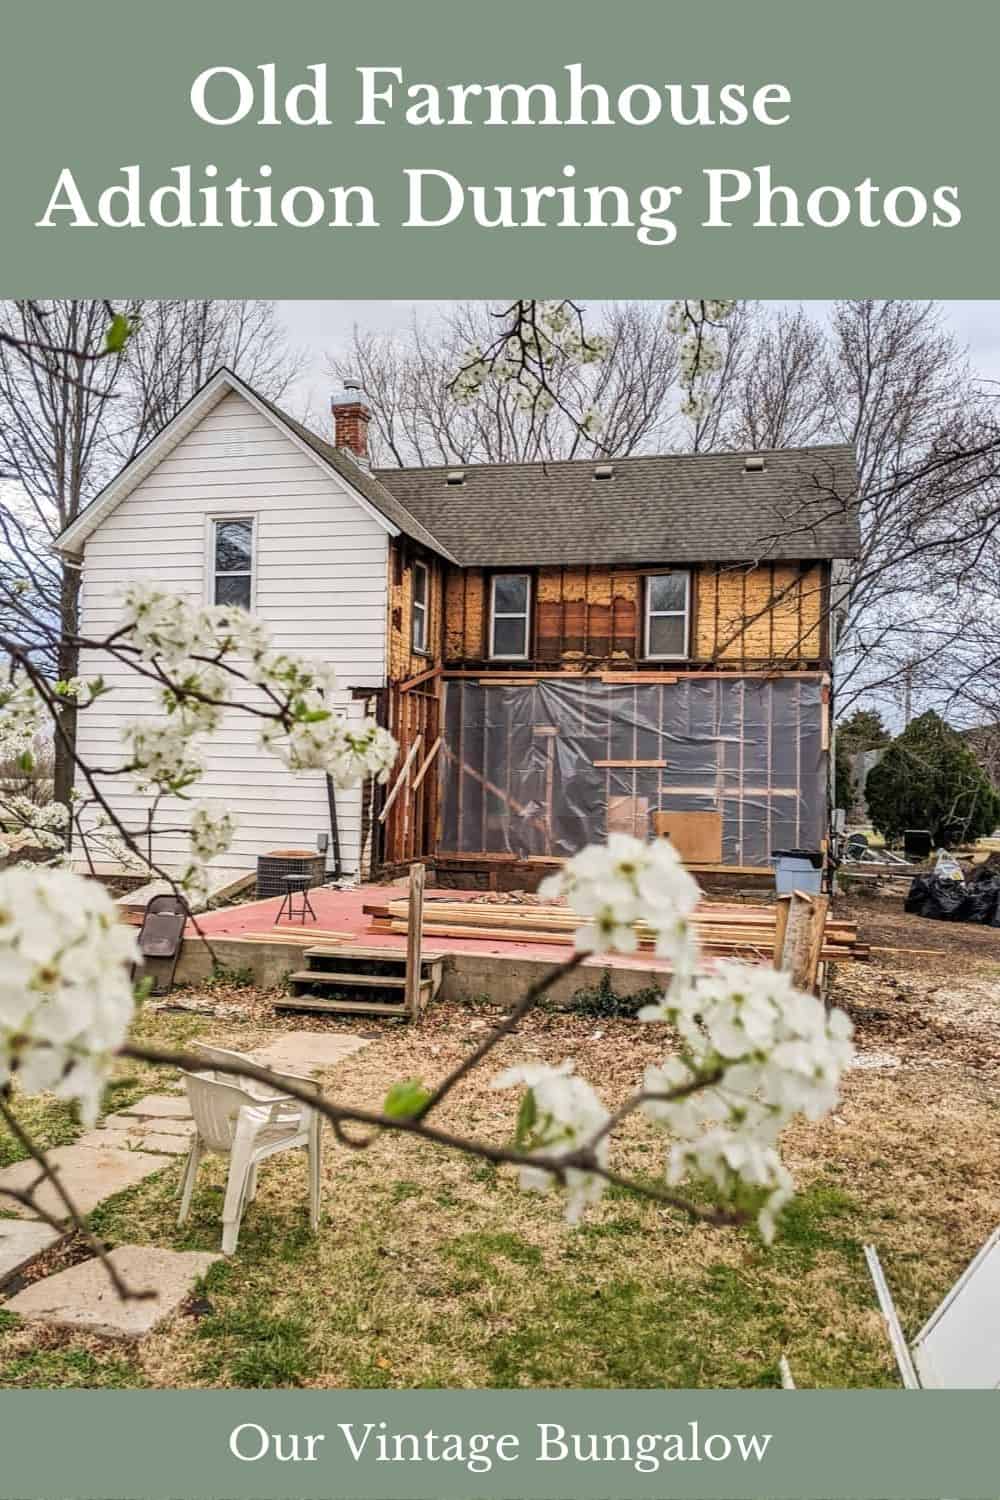
The Demolition Process of the Old Addition
So Caleb started tearing out the old kitchen and back porch addition. We salvaged many building materials and sold them on Facebook Marketplace for extra cash to put towards the project.
And then, we called both our families for a work day to tear down the rest of the structure. Our dear families are such troopers. They probably had little idea when we bought this place how many times they would be out here working!
The Planning Process of the New Addition on an Old Farmhouse
The planning process of the new addition was about the un-doing of my sanity. Where do windows go, how big are the windows, what’s the new layout? So.Many.Decisions. Thankfully, Caleb has a professional builder friend who walked with us step by step through the whole process.
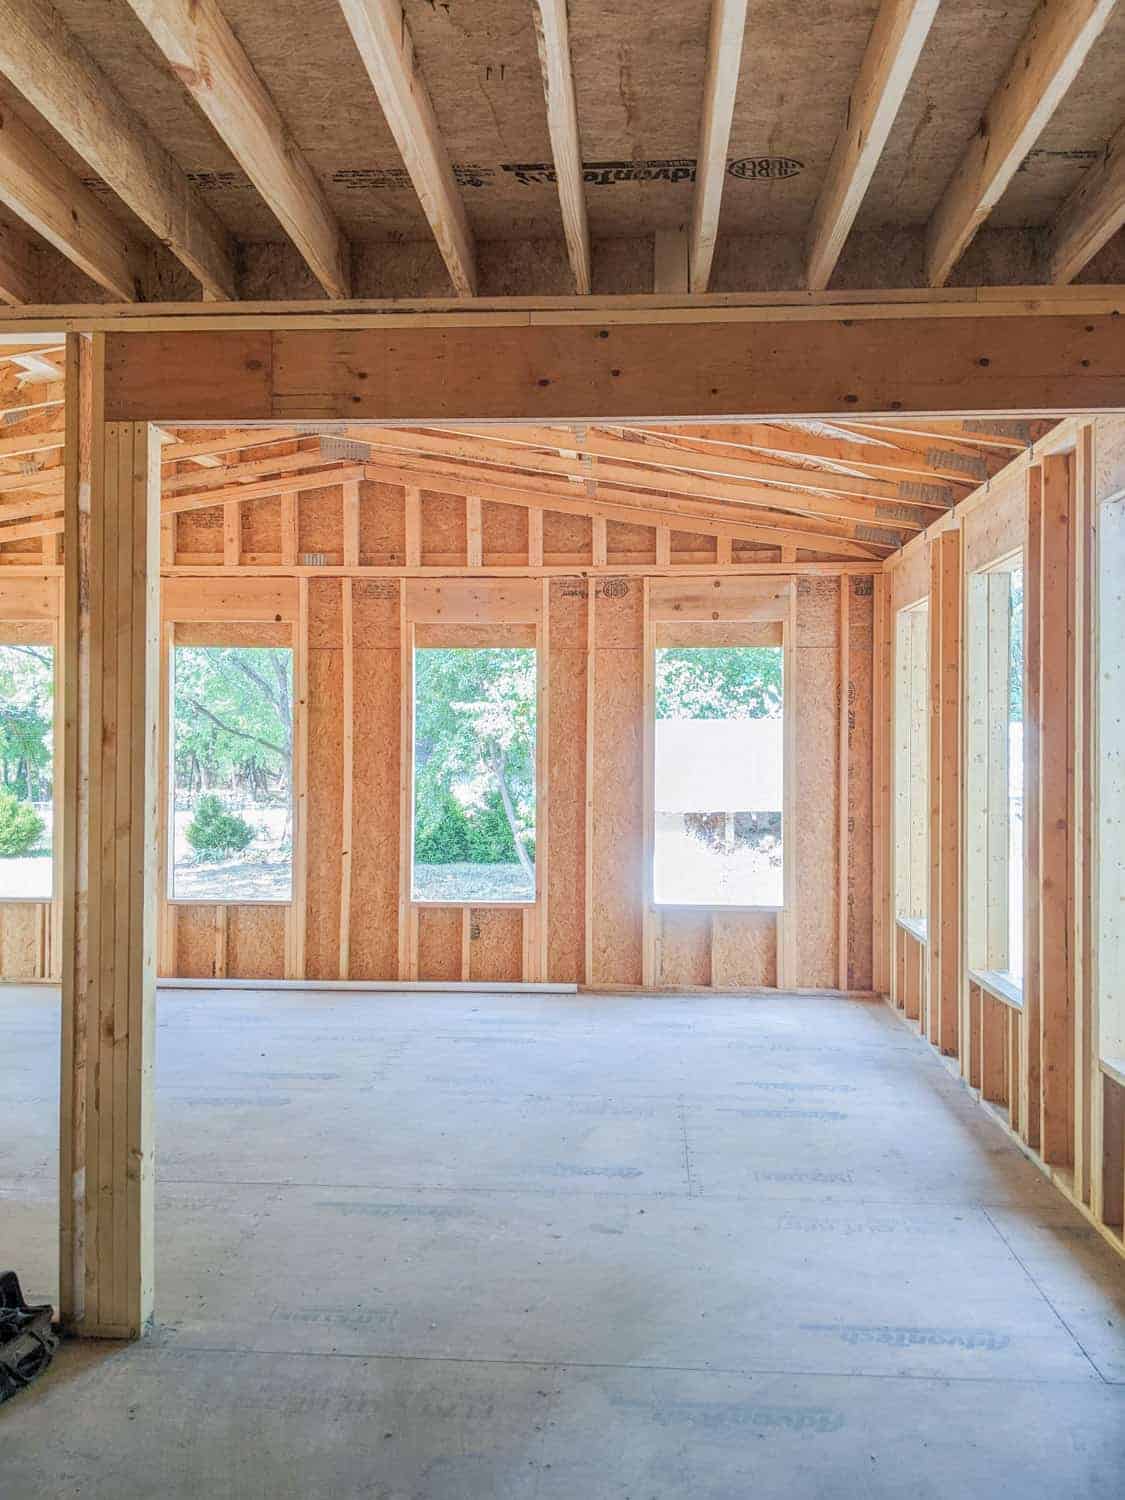
We actually decided to stick with basically the same layout as before. But we added a mudroom, pantry, tall ceilings and sunroom type windows in the back addition.
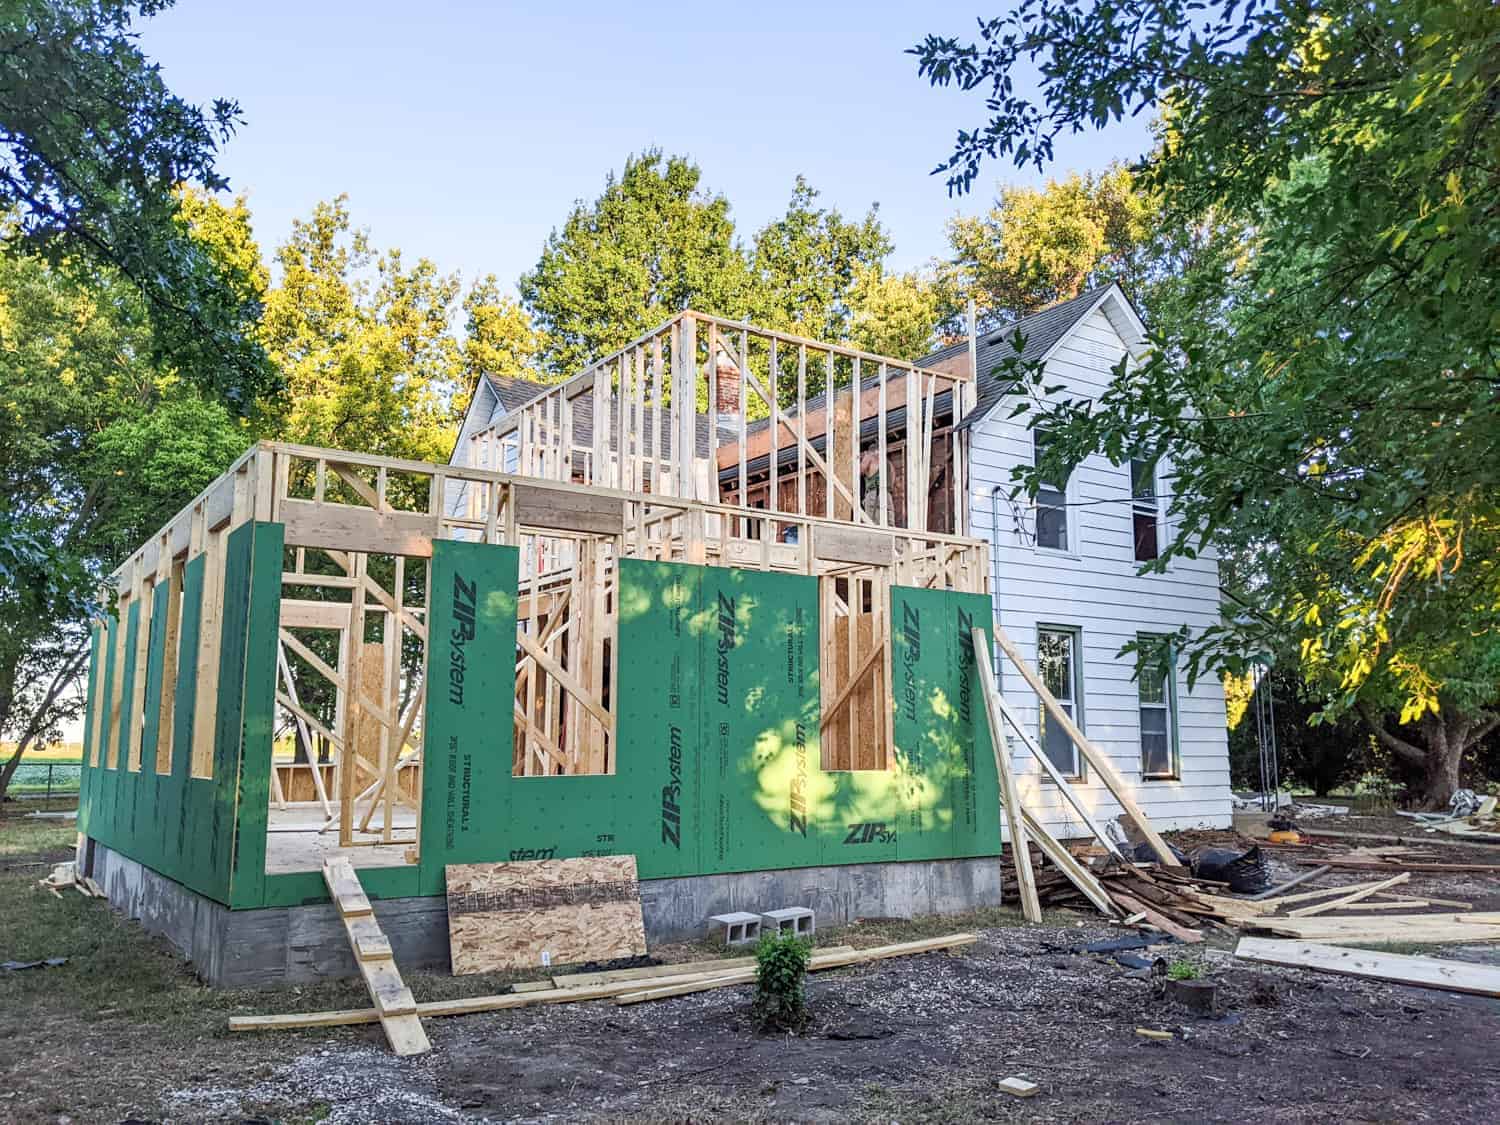
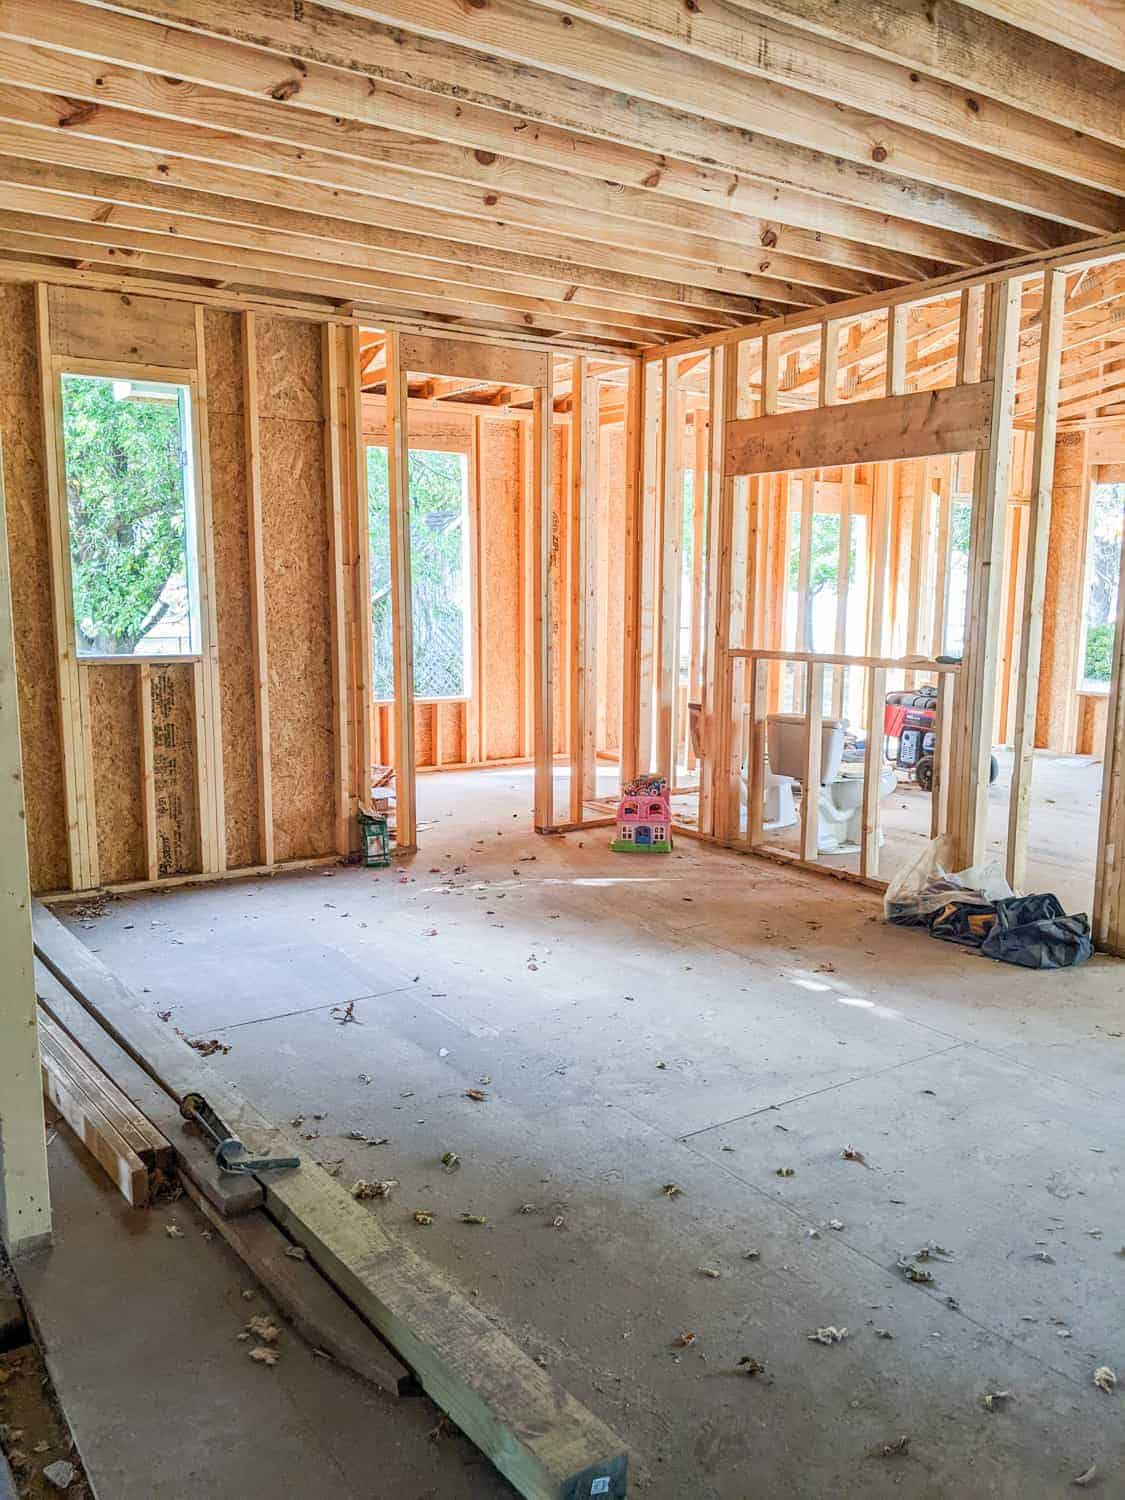
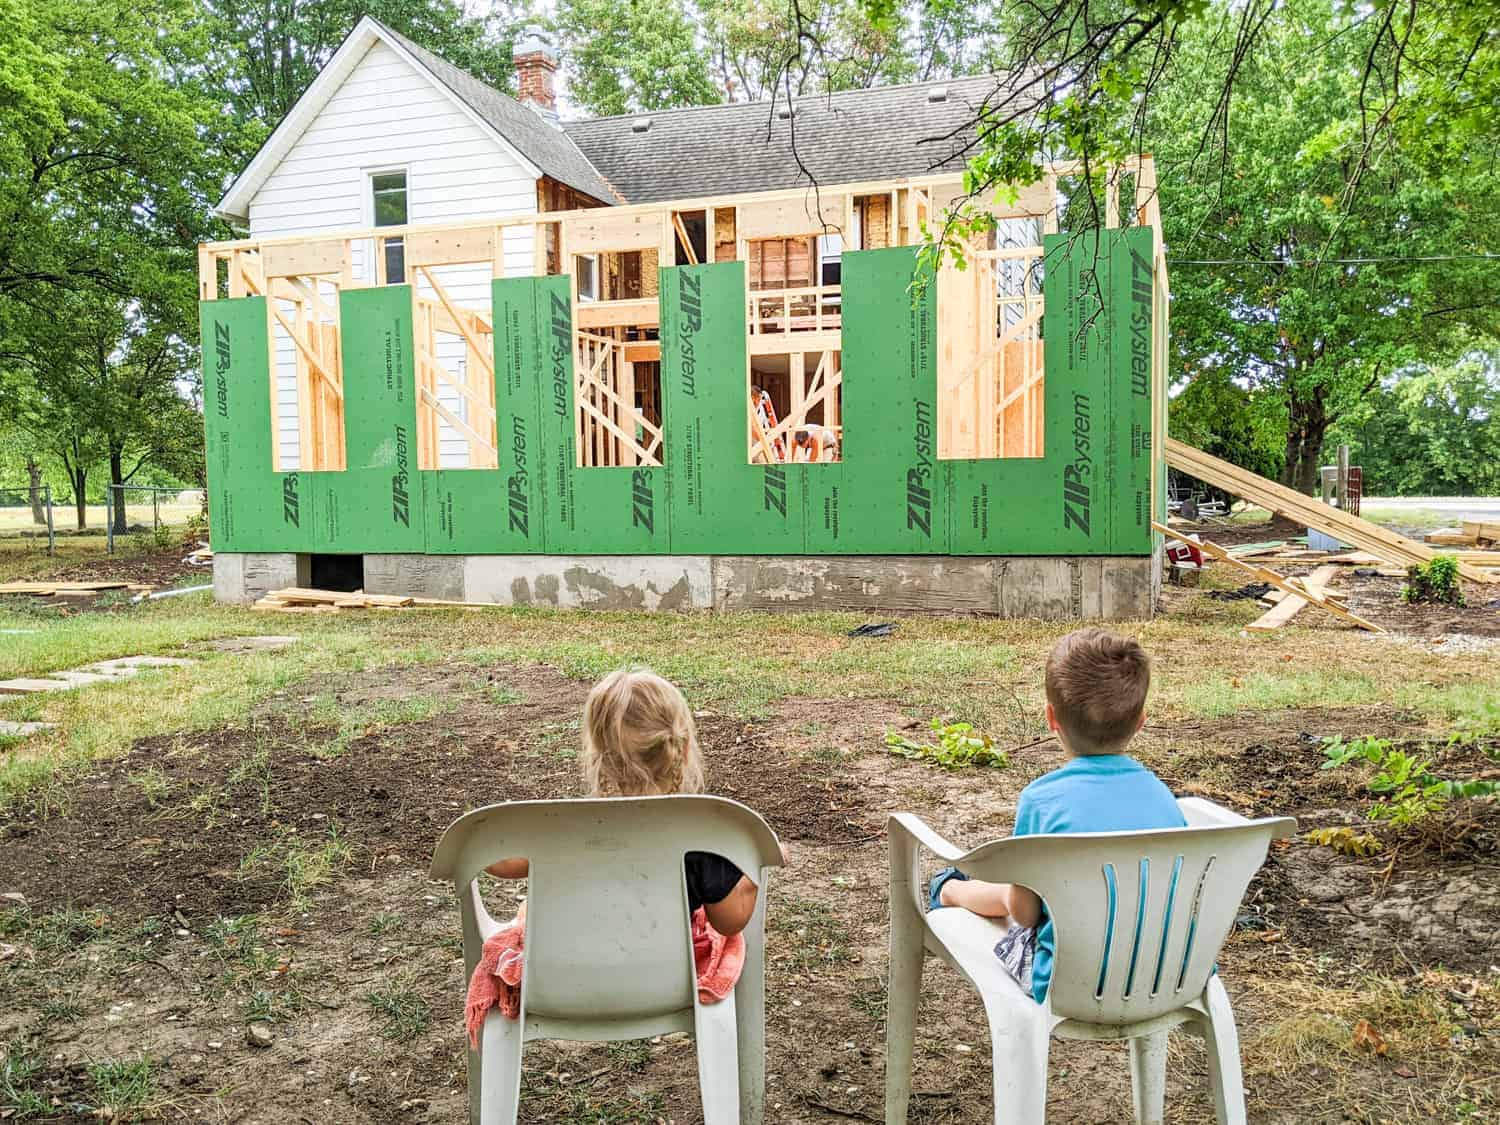
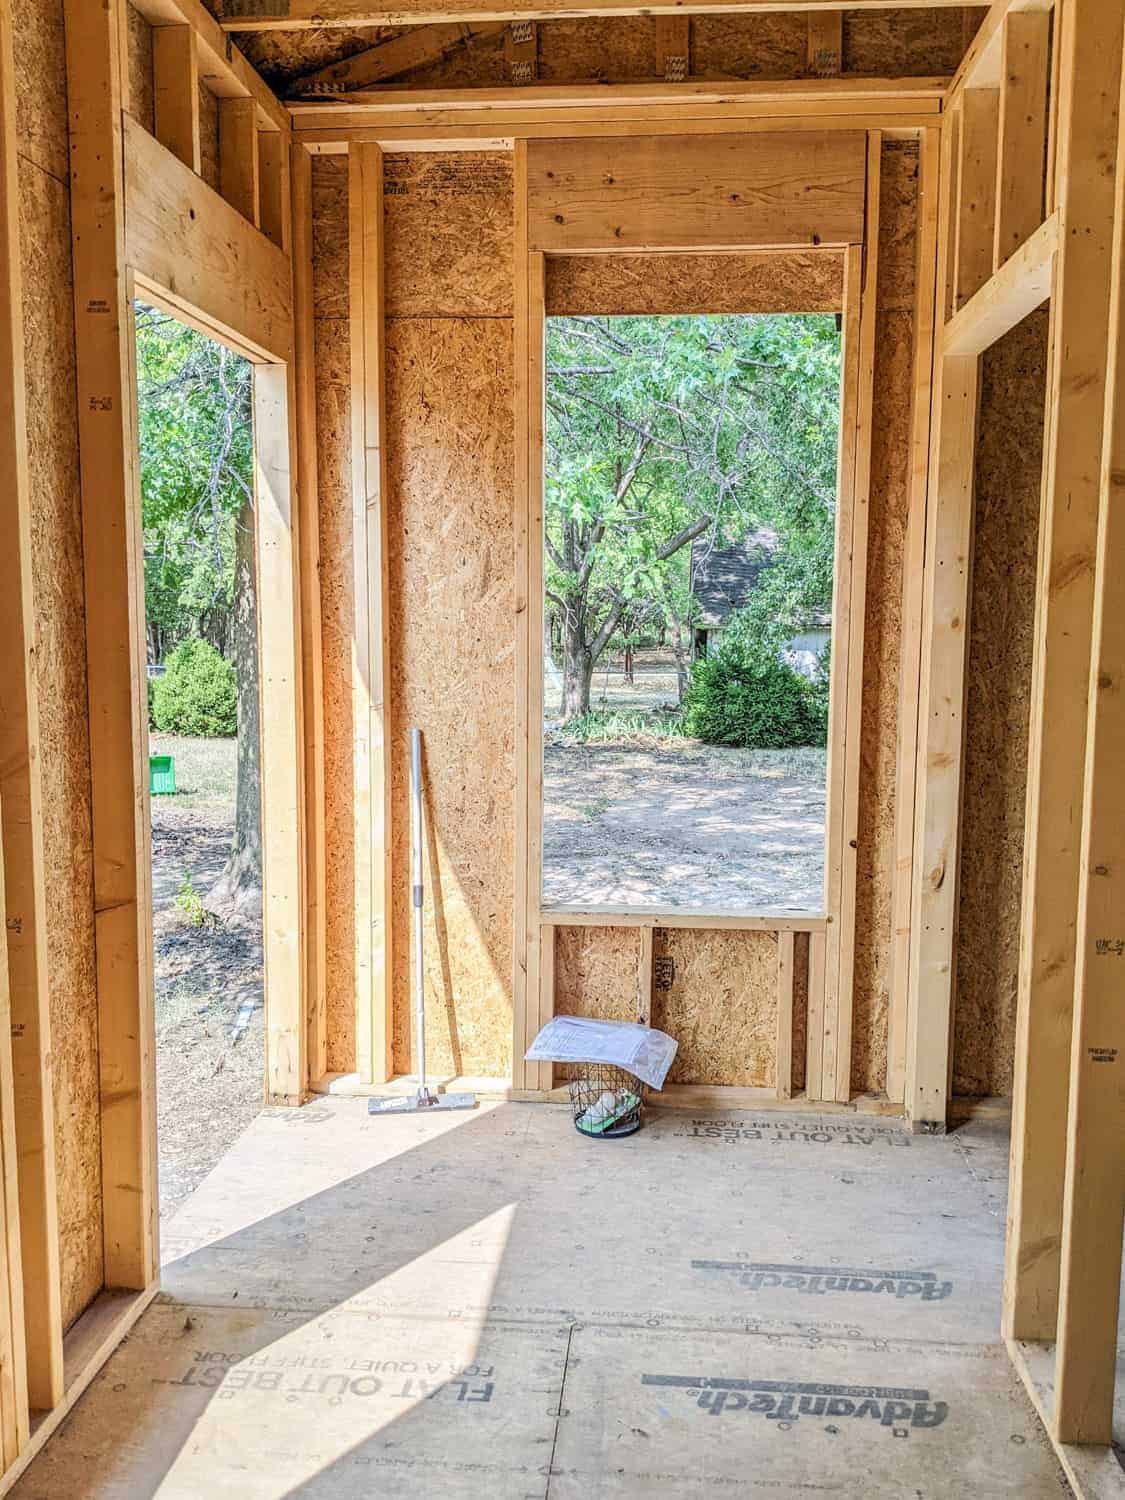
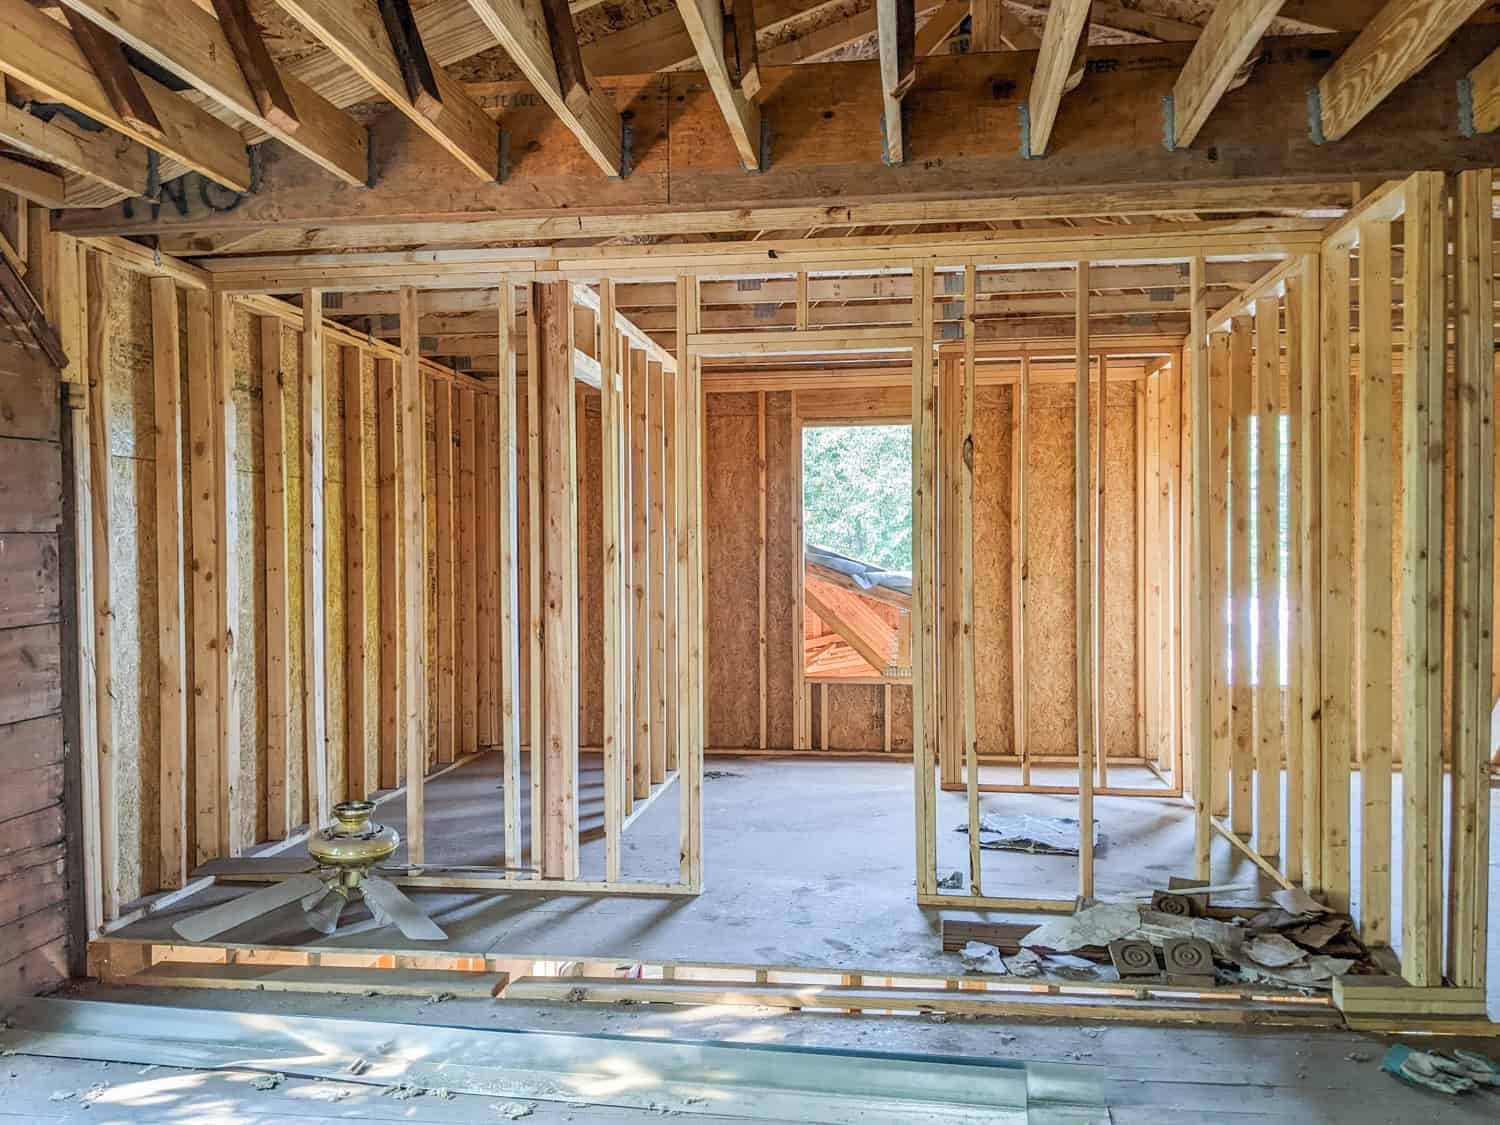
The Building Process of the Farmhouse Kitchen and Family Room Addition
We are DIYers to the core, but we do know our limits. We found some great contractors for the foundation and framing work. And then we waited for the work to begin.
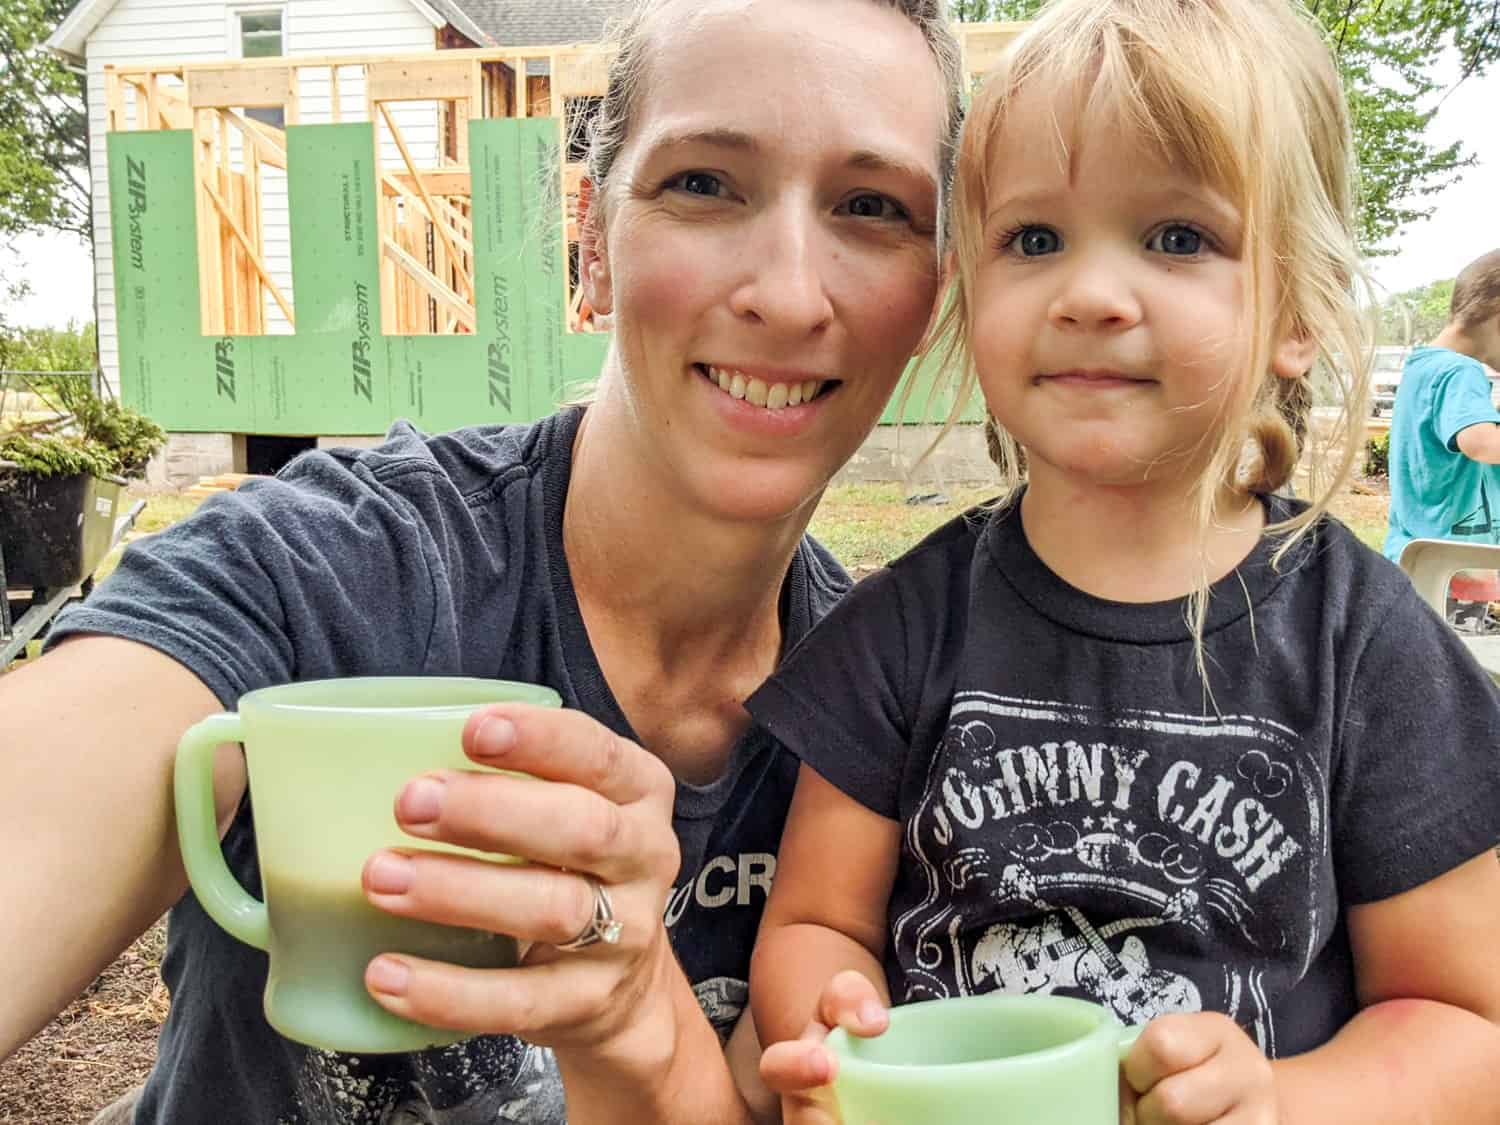
Just a side note, man we got our money’s worth from the workers doubling as kids’ entertainment! We let the kids sit in our out-of-the-way fenced dog yard, and they were fascinated for hours upon hours.
Of course, we ran into multiple issues along the way that, for the love of peter, kept me in a perpetual state of panic when the workers were here. They kept assuring us that issues are normal, and things could be fixed. But when hear that your roof trusses that you spent thousands of dollars on are too small, well, it does something to you. (Never fear, we found a solution for the trusses and the multiple other issues that passes inspection.)
What We Will DIY on the Farmhouse Addition
We decided to contract out the labor ourselves, so we piecemeal the building process. Right now, Caleb is roofing the house himself. We will have electrical and plumbing done for us. And sheetrock, eventually. (We swore we would never sheetrock ourselves again.)
We’ll order new windows in a couple months and Caleb will install them himself. He has done it many, many times and saves us a bundle o’ cash this way! And then the finish work, flooring, kitchen installation will all be on us.
What We Added to the House
Like I said, the original kitchen and family room back addition are the same. They look much bigger than before but that’s because we opened up the walls some and greatly increased the ceiling height. No actual square feet were added!
Downstairs, we did add a mudroom that will be our entryway to the family room. And a very large pantry off the kitchen.
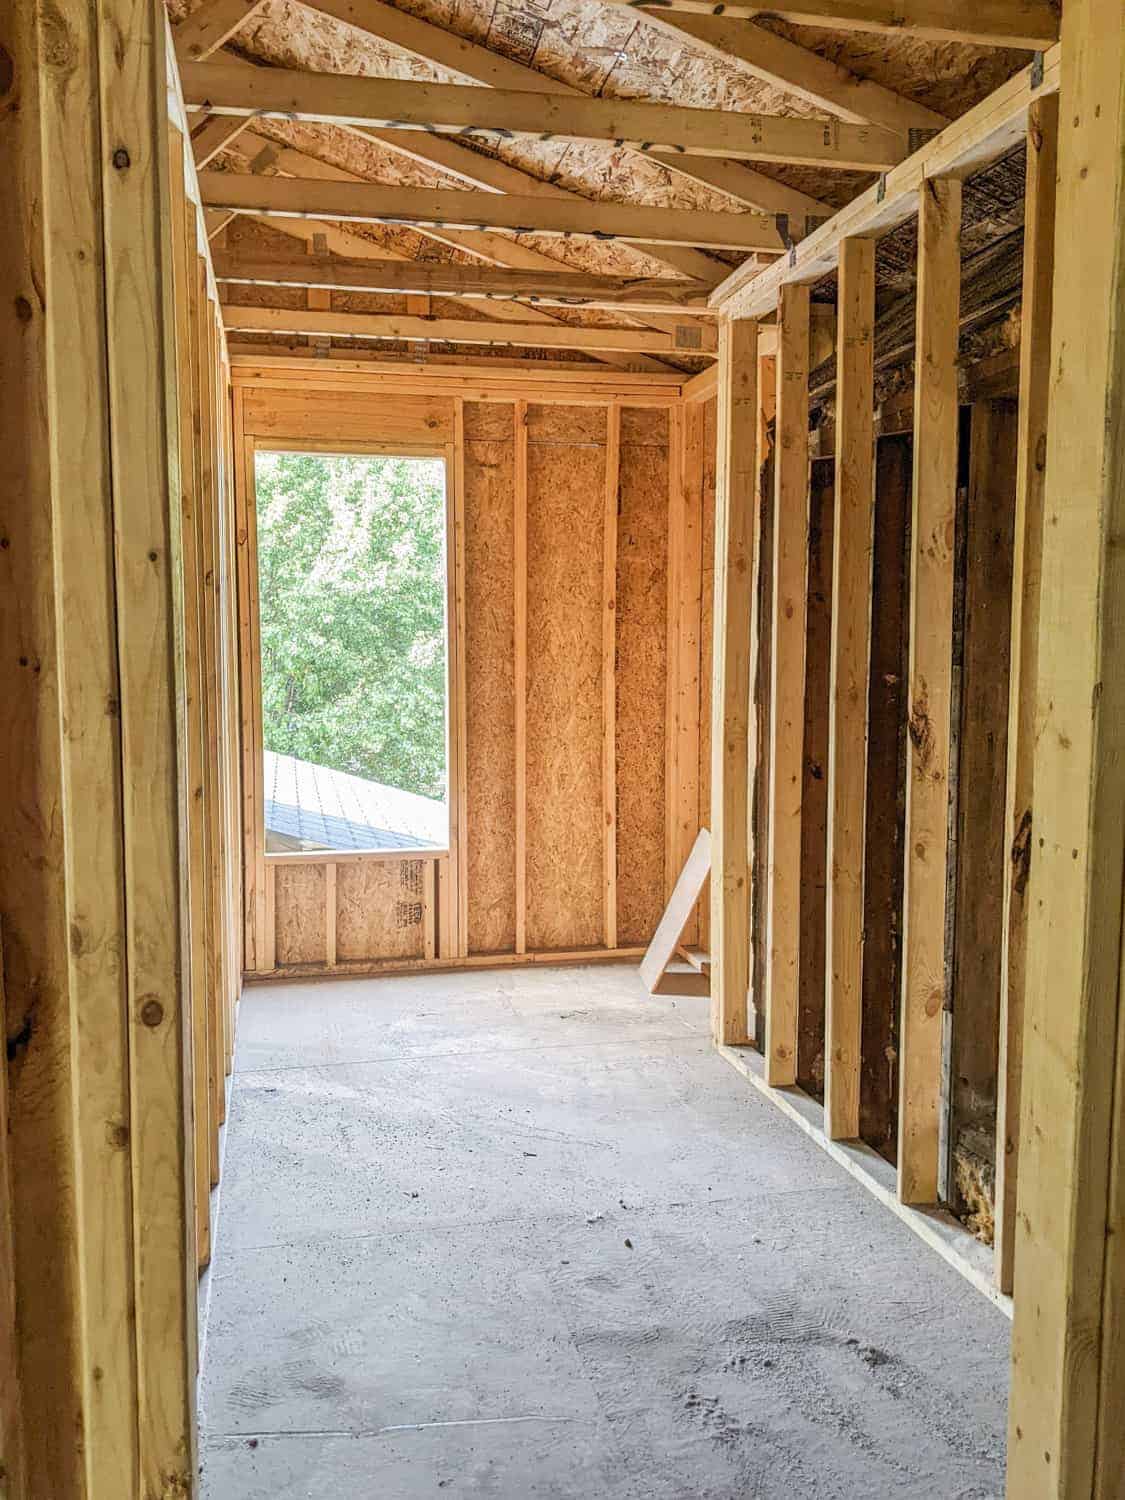
Upstairs, we added about two feet of bedroom space to the master, a master bathroom and a master closet. Off the hallway, we extended it to become a, get this, a reading room. I am head over heels in love with this “reading room” and have already fully designed it in my head.
What I Love About the New Addition on Our Old Farmhouse
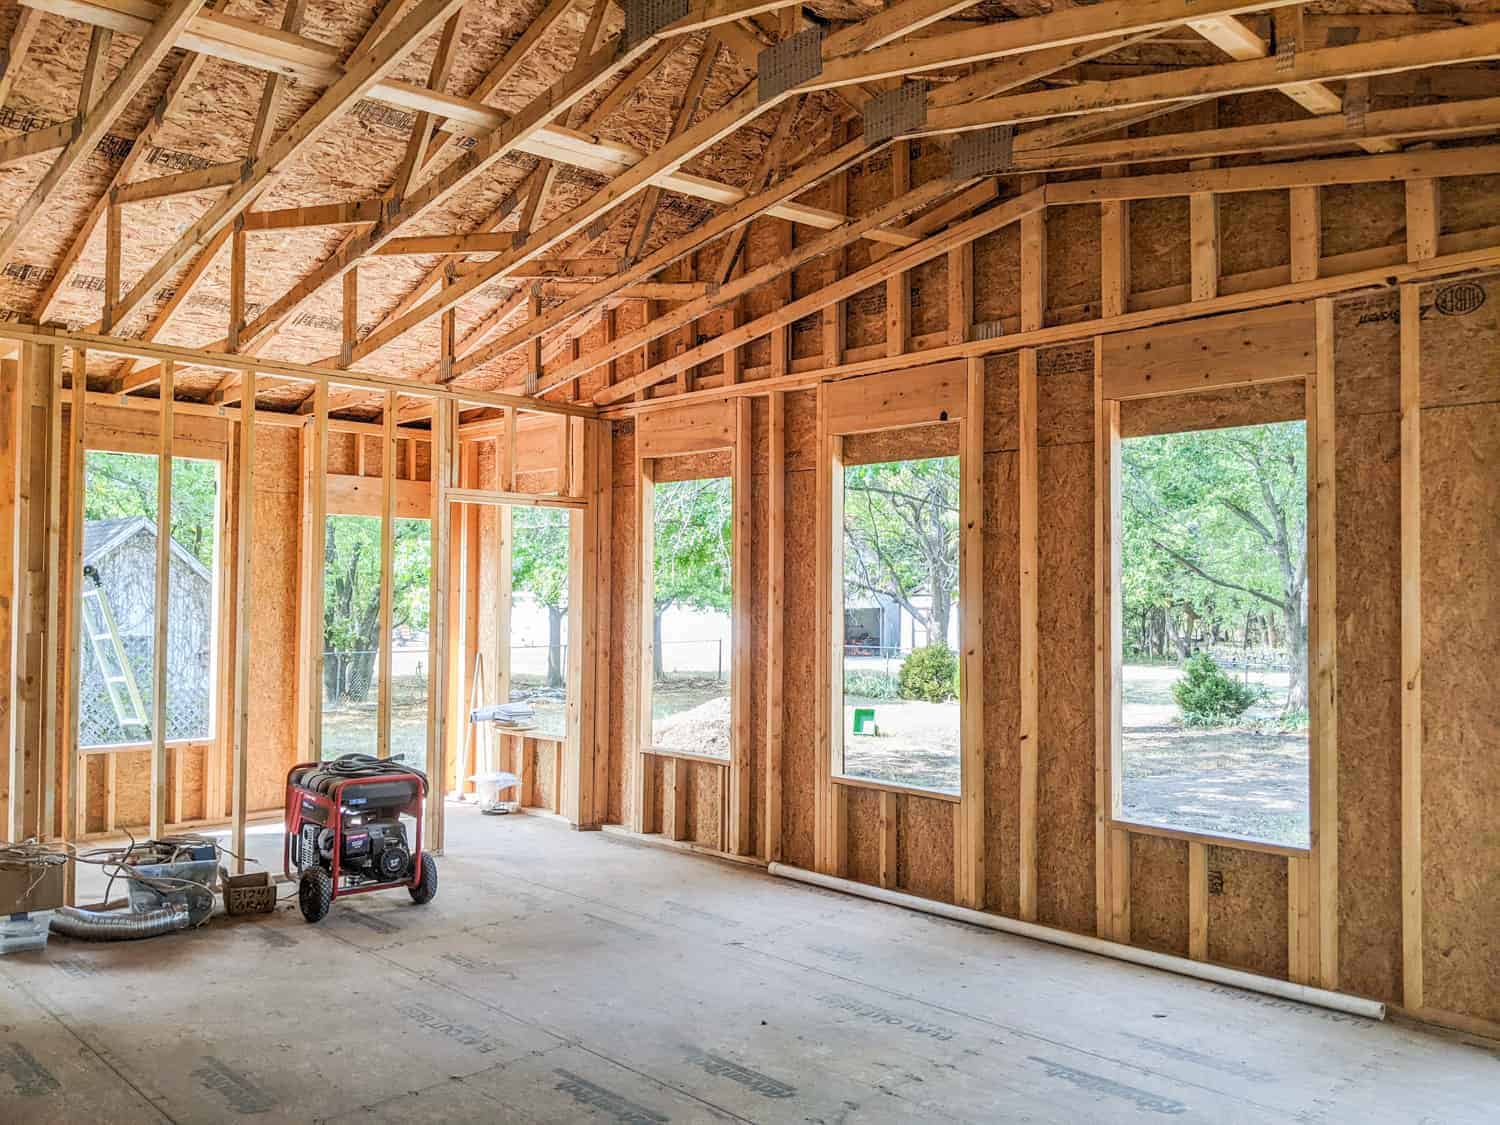
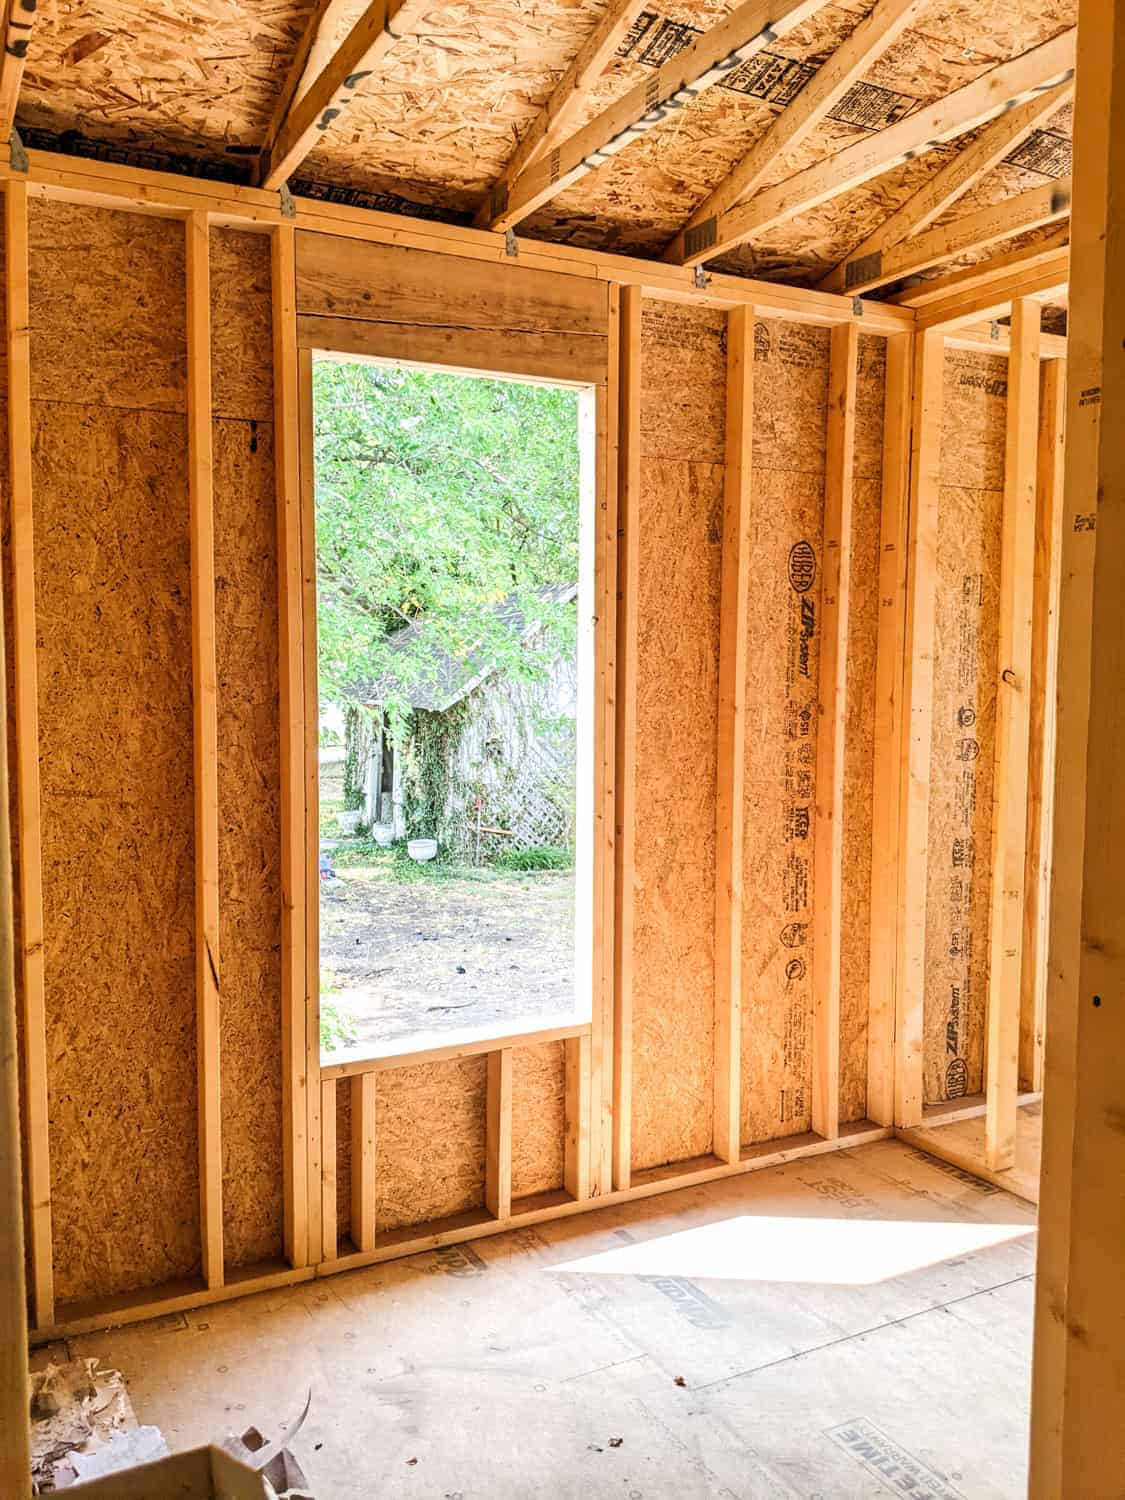
- Tall Ceilings – I love, love, love the tall ceilings! The kitchen now matches the rest of the first floor. The family room sunroom addition are vaulted, and man alive, I am so thankful for that decision.
- Large Butler’s Pantry – I am really excited to add some old house charm to our new butler’s pantry and use all the space it will provide.
- Sunroom Windows – I went back and forth whether or not we should add alllll those windows. But I am so very glad we did. (Thanks to my interior design friend’s suggestion!) I am looking forward to enjoying all the natural light.
- Master Bedroom/Bath/Closet – The smallest room of the house has now become a nice space that gives us what we need plus some. In a house low on closet space, the master closet will be used to the max. And it will be incredibly nice to have an upstairs bathroom!
- Reading Room – Oh, what can I say about this room except To.Die.For. I’m already planning out the floor to ceiling bookshelves, library ladder and window seat. It will be the perfect spot for reading, daydreaming, and scheming. My very own little bit of heaven in my dream farmhouse.
What I Don’t Like About the New Addition
- The “Newness” – My overall goal is to create a home that is in keeping with a 1900’s farmhouse. Right now, there is a very new building attached to a very old house, and new construction is not my ideal. The original footprint is receiving a significant addition. When we get to the finish work, I’ll be working hard to make it all tie it together with a seamless “old” farmhouse style.
- Open(ish) Floor Plan – I like this and I don’t like it. Partially opening up the walls makes it look like a newer open space concept, which is not what I want for our old farmhouse. But I do love that it makes the house work better for us and that’s what counts in the end.
Since we are paying for the renovation as we go and doing much of the work ourselves, it is a slow process to be sure. But to be honest, I am enjoying the farmhouse renovation and addition process (for the most part). I am a fixer upper at heart. Yes, there are many times where I am just Over.It. But it has been amazing for our family to work on such a big project together and dream about the finish line.
I hope you enjoyed this sneak peak of our old farmhouse addition during photos. Next time may the photos look less construction-y and more beautiful-y!
Comment below and tell me what reno project (small or large) you’re working on or dreaming of!
Pin for Later Our Old Farmhouse Addition During Photos


3 Responses
Hello! Do you have any exterior photos that show your roof line from the other side? We have a 1901 farmhouse in Minnesota that we are looking to add a similar addition to.
I do. I will try to get a post up in the next couple weeks highlighting the design (and roofline) of our addition with plenty of pictures. If you have any more questions, you can contact me directly at [email protected] Good luck on your addition!
Hi,
We are considering doing something similar to your addition with our 1830 farmhouse. I am curious about how the roofline configuration will be dealt with when combining the old and new parts of the house. Do you have any pics of that?