You need to ship a vintage item and have no idea how. You may want to sell vintage pieces online or simply ship a vintage gift for a friend’s birthday. I will show you in detail how to package and ship small vintage items as well as give you the best sources for my shipping supplies.
As an Amazon Associate, I may earn a small commission through your purchase through any Amazon affiliate links on this post. This is at no additional cost to you. All recommendations are my own because I believe in each product. See my full Privacy Policy here.
As an online retailer at Our Vintage Bungalow on Etsy, I have had years of experience shipping thousands of vintage home décor items. From jewelry and other small items to large furniture, I’ve learned the best tips to ship safely so your items arrive undamaged.
Shipping antiques can certainly be stressful. Will it break? Will it get lost? Do the workers treat it like a football? I am here to take the worry out of shipping vintage items for you. While you never have complete control over a package once it’s out of your hands, you can take steps that will help a package journey a long distance safely.
Here are my inside tips on the shipping process from years of online vintage selling experience.
How to Create an Accurate Shipping Quote for Small Vintage Items
To add a correct shipping charge before you package and ship small vintage items, vintage sellers need to know accurate estimates for the cost of shipping options before an item is sold.
- Take your item with the probable box it will fit into.
- Weigh item and box, rounding up to the next pound. (ie 4 1/2 pounds would be 5 pounds)
- Take dimensions of box, rounding up to next inch.
- Go to USPS calculator or FedEx and enter your zip, a random destination zip code from a state far away and the package size and weight.
- Add the shipping cost plus the cost of packing supplies for your final shipping charge.
What Size of Vintage Items Are You Shipping?
In this post about how to package and ship small vintage items, I will be teaching about items with the following size guidelines:
- Smaller than a breadbox OR
- Long and thin that can fit in a tube box
- Over 1 pound
- Not an envelope

What Size of Boxes to Get?
I’ll list the boxes I stock in my shipping room. You can start with one Priority Mail box size and one plain box size until you figure out what you use most. No need to buy all sizes and then never use them. **Note, when ordering Priority Mail boxes, do NOT get “regional rate” or “flat rate” boxes.
- 8 x 8 x 8 USPS Priority Mail Box 4 HERE (free)
- 12 x 12 x 9 USPS Priority Mail Box 7 HERE (free)
- 13 x 11 x 2 USPS Priority Mail Box 1097 HERE (free)
- 17 x 12 x 12 plain box HERE
- 12 x 12 x 12 plain box HERE
Where to Get Shipping Boxes?
This depends on how professional you want your package to look. For mailing to a friend or a buyer on Ebay, you can certainly reuse old Amazon boxes or other sturdy mailing boxes you’ve received as long as they’re still in good condition.
Through lots of searching and price comparison, I source my small boxes from USPS (free Priority Mail boxes shipped to you) or Amazon. Many people use Uline, but their prices have always been higher. I used to order through CheapAss Shipping, but by the time you pay for shipping the boxes to you (freight shipping charge), the price is often higher than Amazon.
- USPS Free Priority Mail Boxes – free boxes shipped to you, but can only use them for Priority Mail shipping
- Amazon – higher prices but free two day shipping so overall a lower cost.
- CheapAss Shipping – best priced shipping supplier I’ve found. However, depending on your order size, shipping charge can make them higher than Amazon. Do comparison shopping for your particular needs.
What Packaging Materials to Use for Small Vintage Items?
As I package and ship small vintage items over the years, I have used lots of trial and error. Again, you can reuse old packing material if you’re just shipping a couple pieces here and there. When just starting out, I used old newspapers and layers of bubble wrap that came in packages I had received.
Currently, I use the following:
- 30 lb Kraft paper on rolls (similar found HERE)
- Large bubble wrap purchased locally
- Plastic wrap for securing exact found HERE
- Packing tape exact found HERE
- Masking tape (for securing fragile items)
- Shipping Labels in 8 1/2: x 11″ paper
Tools I Use to Package Small Items
There are not many tools needed when packaging small items, but the tools I use are extremely important. If you’re shipping items on a regular basis, you definitely need these.
- Packing Tape Dispenser found HERE
- Folding Utility Knife found HERE
- Shipping Scale found HERE
- Tape Measure found HERE

Where to Buy Packing Materials
- Amazon – I purchase smaller packing materials from Amazon, again, because their prices beat shipping companies once you add shipping cost.
- Local Supplier – Larger packing materials like large bubble wrap and the rolls of kraft paper are a little more difficult because shipping heavy and large items like that really adds to the cost. I have found a local shipping supplier where I get these items for the best price. I suggest you Google shipping suppliers near you if you need significant quantities.
- Lowes/Big Box Stores – If you’re buying small quantities, Lowes sells kraft paper that works great. The price will be higher though.
- Cheap Ass Shipping – The cheapest online shipping supplier. Beats the big names hands down. Depending on what you order and the quantity, freight shipping may make the prices higher than Amazon.
How to Choose the Correct Box for Non-Fragile Items
Ideally, you want to have at least two inches clearance space on all sides of your item. The box can be significantly bigger than the item, but just know you need to fill that space with packing material and sometimes pay a higher shipping rate.
If the item is too long, consider angling it low corner to high corner for more clearance.
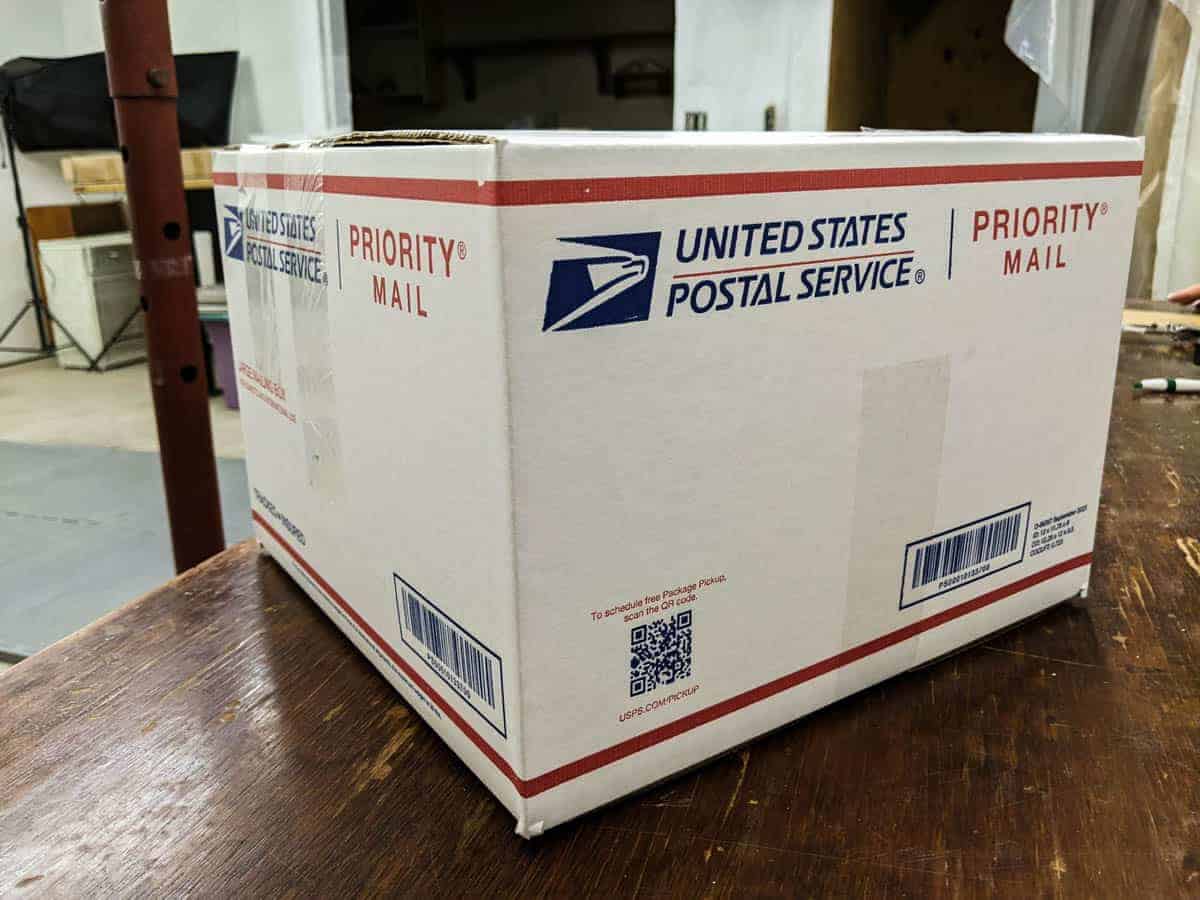
If an item fits into a USPS Priority Mail box, I will use that 95% of the time. Priority mail is usually the same or just slightly higher shipping rate as Ground mail, so I choose to use the free box and ship the quicker way.
However, you MUST ship USPS Priority Mail if using these free boxes.
How to Choose the Correct Box for Fragile Items
When you package and ship small vintage items, the ones that will be the most concern are the breakable pieces. I package a fragile item in multiple layers for additional safe shipping. Wrap the item in packing layers first and then choose the box since the layers can add significant inches. Usually, clearance for a fragile item is more like four inches on all sides, depending on how breakable it is.
However, keep in mind your available box size while you are adding layers. You don’t want to make it so big that it won’t fit in any smaller size box.
How to Choose the Correct Box for Books and Media
Books and media like DVDs, papers, etc can be sent through a lower rate USPS Media Mail.
- The entire package MUST be media, it cannot be a mixture of books with other non-media items.
- You cannot use a Priority Mail box if shipping media mail. Use a recycled or plain brown box.
- You do not need much, if any, extra clearance space on the sides since they are durable.

What is the Right Packing Material for Fragile Vintage Items?
Most of the time, I simply use crumpled up kraft paper (30 lb weight) for my packing material. Even for heavier items, this can pack in tightly or loosely depending on your needs.
When it comes to fragile items, it can be a little trickier. (See examples of how to wrap below.) I always consider what the weakest point of an item is. If it were to break, where would that be? Secure that weak spot as much as possible.
- Masking Tape – Flat glass like pictures, I tape with an X with masking tape. (This type of tape steadies the glass but is still easy to remove.)
- Kraft Paper – I still use crumpled kraft packing paper most of the time with fragile items, just using it WITH other packing layers.
- Large Bubble Wrap – I’ve found the large bubbles are much better than small. Sometimes only one layer is needed.
- Plastic Stretch Wrap – I sometimes use the plastic moving wrap to tighten packing materials against an item. This gives everything extra reinforcement.
- Cardboard – If I’m worried something might be punctured or is extra fragile, I’ll wrap it with a layer of cardboard.
- Packing Peanuts – This is the final step for super fragile vintage items. Once I’ve layered the item with kraft paper, bubble wrap and plastic wrap, I layer in peanuts below, around and above the item for the final extra protection. Give the package some shakes to make the peanuts settle, then add more.
Something to keep in mind when you package and ship small vintage items is to not fill the box so much with packing material that it is tight to close. Even if the tightness comes from packing material, rigid things break easier. There has to be a little give in all packages.
How to Pack Non-Fragile Vintage Items for Shipment
- Lightweight, Non-Fragile Items (ie recipe box or watering can) – Crumple kraft paper on bottom, all sides and fill the top. It does not have to be tightly packed in, but should keep the item from rattling around.
- Medium weight, Non-Fragile Items (ie rotary telephone)– Again, use kraft paper on bottom, all sides and top to fill. Pack in more tightly so when heavier item shifts, there is enough paper to keep from compressing too much.
- Make sure each piece is wrapped with paper so things are clanking and rubbing against each other.
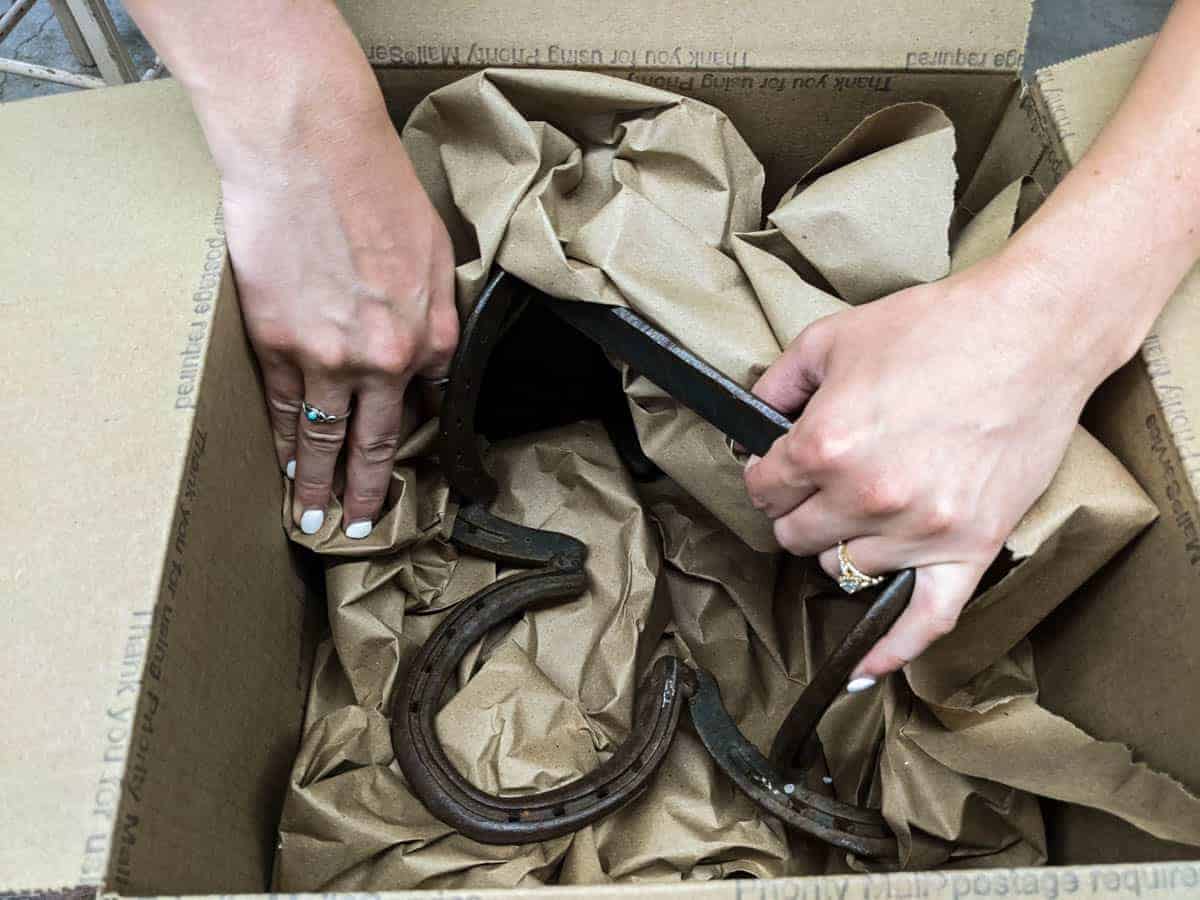
- Heavy Weight, Non-Fragile Items (ie 2 drawer card catalog cabinet) – You would be surprised how shippers can manage to break durable items. When you pack antiques, always think your item is breakable, no matter how sturdy it seems. Crumple long strips of kraft paper. Wrap the item in thick crumpled strips of paper or simply line the bottom back and forth, all sides and top to fill the box. Compress paper and then use more so that the heavy item will still stay in place when shaken.
How to Package Fragile Items for Shipment
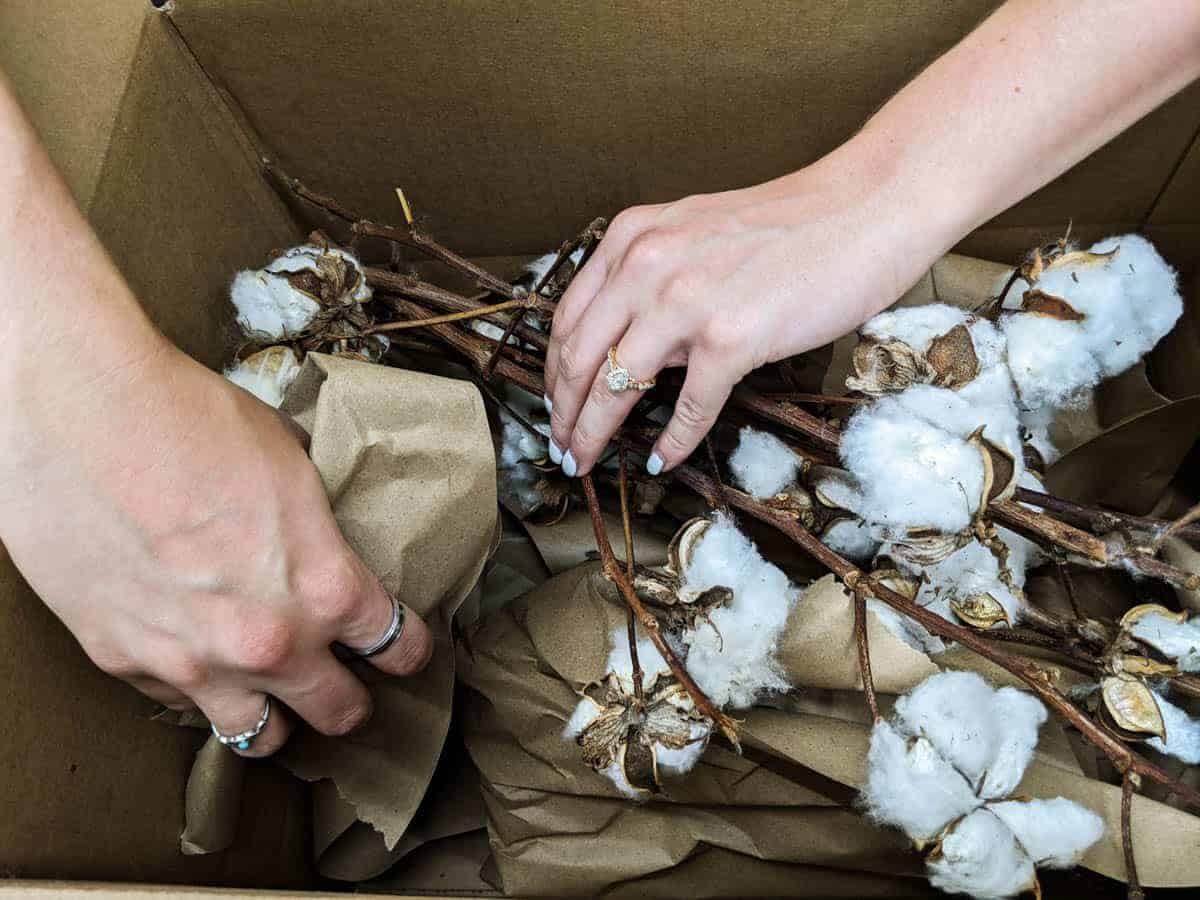
- Lightweight Fragile Items (ie real cotton stems) – I ship a lot of authentic cotton stems. These require extra care as the cotton bolls and stems are brittle and snap easily. The best way is to layer in lightly crumpled kraft paper on the bottom, and put in the item. Take small crumpled pieces of paper and stuff in many of the cavities to create support. Layer with lightly crumpled paper on top. Do NOT overstuff; let it wiggle to give flexibility.
- Medium Weight Fragile Items (ie cups and saucers, glass dinnerware, figurines) – Take special attention to stuff all cavities with tight kraft paper (ie the inside of a pitcher as well as the inside of the handle). Wrap individually with long crumpled strips of kraft paper then wrap with one layer of bubble wrap, large or small. Layer kraft paper on bottom, then layer of items, then more paper, etc. Top with crumpled paper.
- Depending on how fragile the items are, add a layer of packing peanuts with kraft paper.
- Flat Fragile Items (ie picture frames with glass) – Give special care to the flat glass by taping an X across with masking tape. Layer lightly crumpled kraft paper on glass. Wrap item with long piece of cardboard. Wrap with one layer of large bubble wrap or several layers of small bubble wrap. Tape to secure.
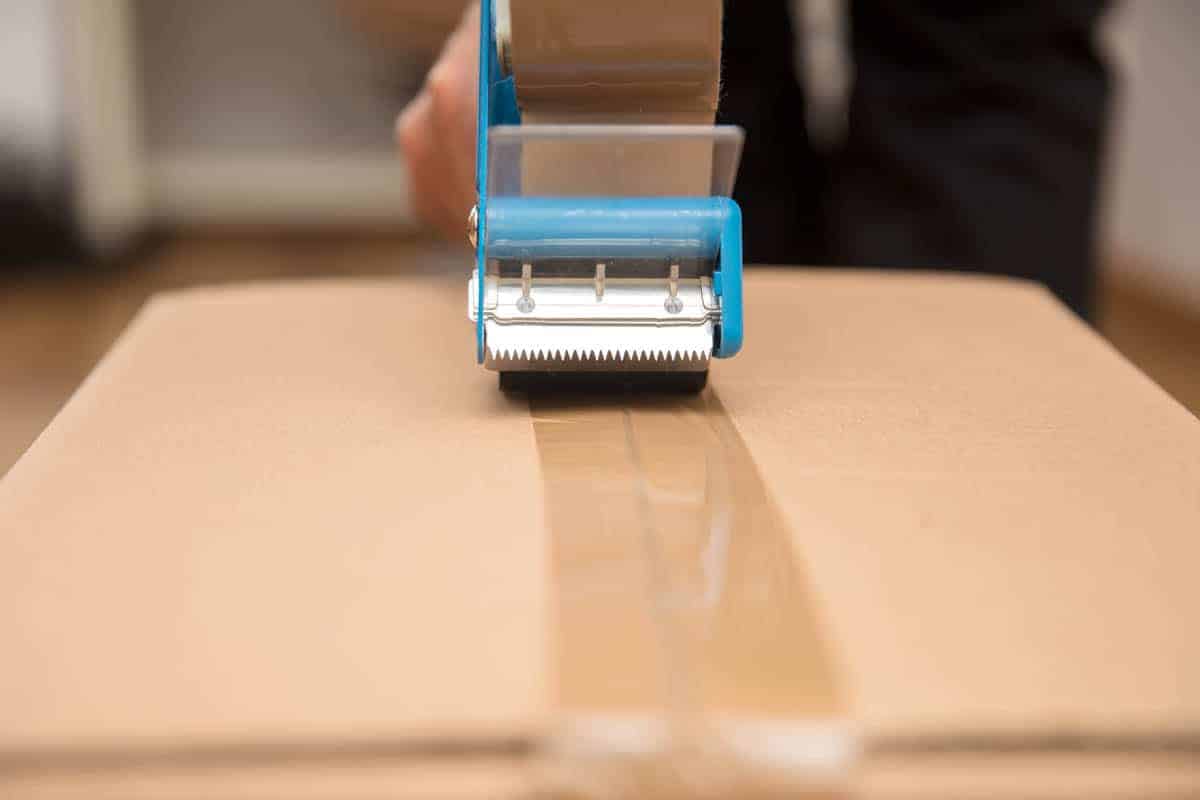
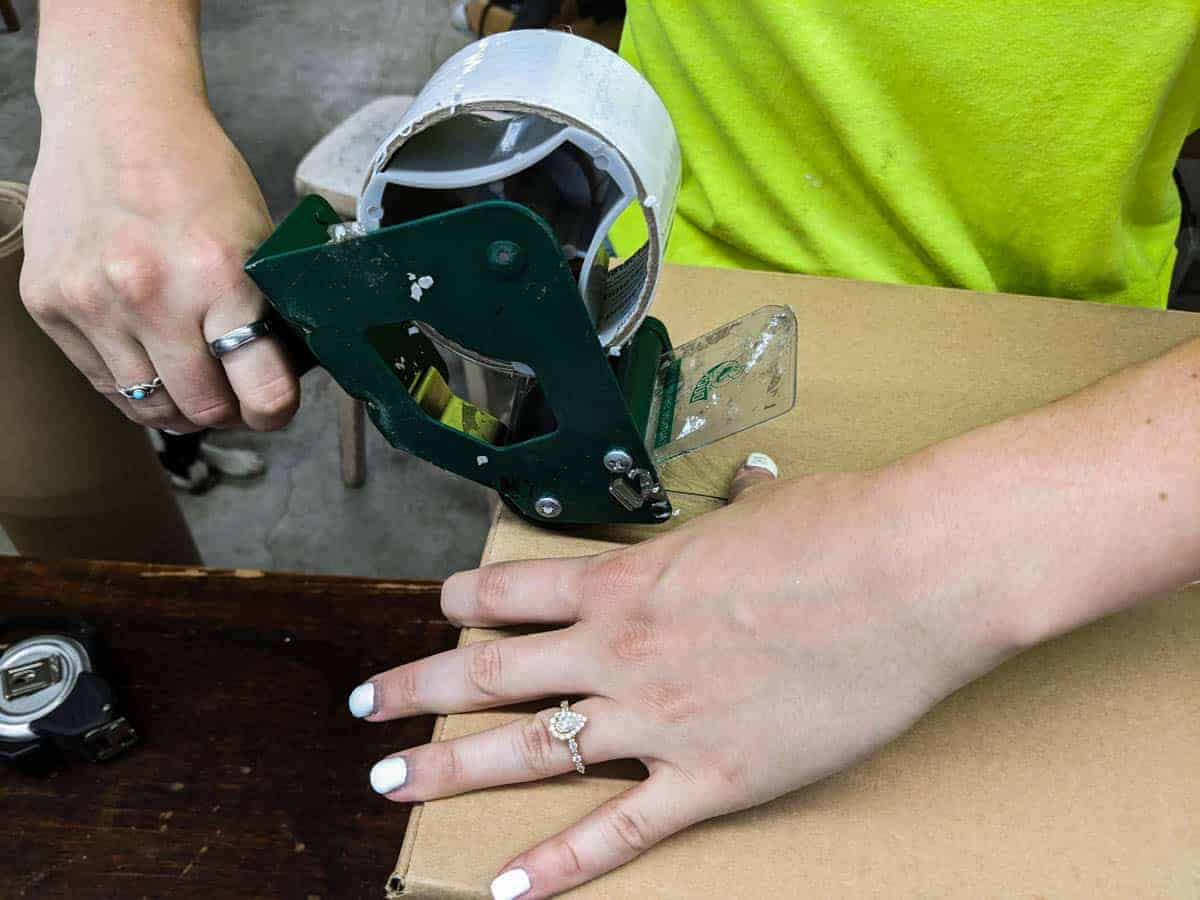
How to Tape the Box for Shipping Vintage Items
This seems simple, but the postal workers have told me people do not put enough tape on their packages, and it often pops open. When you package and ship small vintage items, I run one strip of tape over the seam as typical. Then I put a short piece of tape on one end flap and another short piece of tape on the opposite corner end flap.
If an item is fairly heavy, I’ll finish off top and bottom with a long strip of tape running the opposite direction of the seam to hold it all together.
How to Take Measurements of Boxes
You need to know the dimensions and weight on an item in order to ship it. On both dimensions and weight, you must round UP to the next number. For example, 8 ½ inches wide would be considered 9 inches wide. 4.6 pounds would be considered 5 pounds.
I measure and weigh and then put the dimensions on a piece of paper with the name of the item. Or I just write everything on the package itself.
You need a good scale and tape measure. I use the scale found HERE and love it.
Which Shipping Company To Use?
For smaller items the best option is almost always the US Postal Service (USPS). The exception is when a small item is extremely heavy. I then use FedEx. I used UPS a very short time and had more items missing and break than I thought possible. I know lots of people love UPS, but I never went back to using them after 5 fiascos in a row. They are cheaper than FedEx, but I got what I paid for.
Where to Print Labels for Your Package?
You can certainly just go to the post office or FedEx facility and get labels. But if you’re shipping regularly, I would suggest setting up an online account.
Companies like Etsy and Ebay offer labels you can print directly off their website. I DO NOT PRINT LABELS FROM ETSY. Read the section below to find out why.
But to answer the question of where to print labels, I created an account on Stamps.com (for USPS and UPS if you choose them) and print directly there for a discounted price. The service costs $17 a month. I’ve also used Ship Station and like them. (Ship Station integrates USPS, UPS and FedEx).
For FedEx, I’ve created an account directly on the website. They give me a discounted rate based on my shipping history. And it’s easy to request a package pick up from their account.
I print on the labels HERE that are two to an 8 ½ x 11 sheet of paper that fits into my printer. Many people buy special label printers, but I don’t find this a necessary expense.
I do run a couple strips of tape along the labels just because I’m nervous that one day one will rip off.
How to Insure Packages Against Loss and Damage
Back to why I don’t purchase labels directly from places like Etsy or Ebay. Insurance is a pain. House insurance, car insurance and shipping insurance.
This wasn’t always the case. USPS and FedEx used to be pretty good about paying for damage or loss when shipping valuable antiques as long as they had photos and a receipt. Now, in the event of an accident, it is much more difficult to get an insurance payment, but it’s still possible.
However, when you purchase labels through Etsy or Ebay, you only have insurance options through a third party shipping insurance. If you thought dealing with USPS and FedEx insurance claims was terrible, just try going through a third party! It.Is.Awful. And with vintage items, it is even worse as they don’t believe you on the value of anything (even when you have a purchase receipt).
I had to file claims and go through the Better Business Bureau just for the third party to reply to my emails and calls.
All that said, I do purchase shipping insurance directly through USPS and FedEx. When you use Stamps.com, you have a choice between third party insurance or USPS insurance. ALWAYS choose USPS insurance.
However, I don’t hold my breath on insurance claims even purchased directly from the shipper. Just keep records, keep photos and cross your fingers! (This is why my packing tips are so important for professional antique shippers!)
How to Ship the Vintage Items
The postal service offers free package pickup from your porch on regular delivery day. You can request package pickup on Stamps.com, Ship Station or directly from the USPS website HERE. FedEx and UPS also offer package pickup though they do charge $3.00 per package if you’re in a residential section. I always find it worth it to pay the fee instead of having to run to a drop off point.
I trust that this post on how to package and ship small vintage items has been helpful! While it can happen, I rarely have items broken or lost. These are the methods that I have worked for years to perfect in my online vintage home décor business to ensure my shipped items arrive in perfect condition. So whether you’re shipping a family heirloom to family members or starting out as an online antique dealer, these tips will give you peace of mind.
Comment below with any packing or shipping questions you may have. I would love to help!
Pin for Later How to Package and Ship Small Vintage Items